
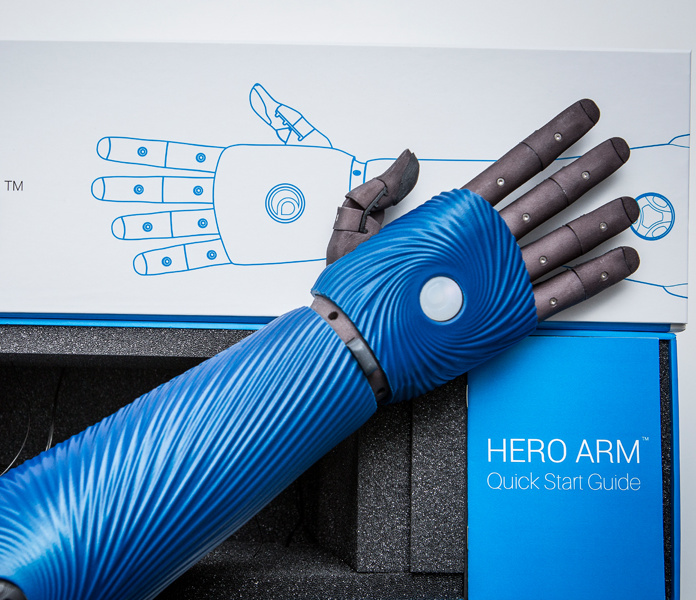
Please find below the quick version of the Hero Arm User Guide, or you can download the full manual by clicking on the button below. If you haven’t got a Hero Arm and you’re simply looking for information about how bionic technology works, see here what makes the Hero Arm bionic.
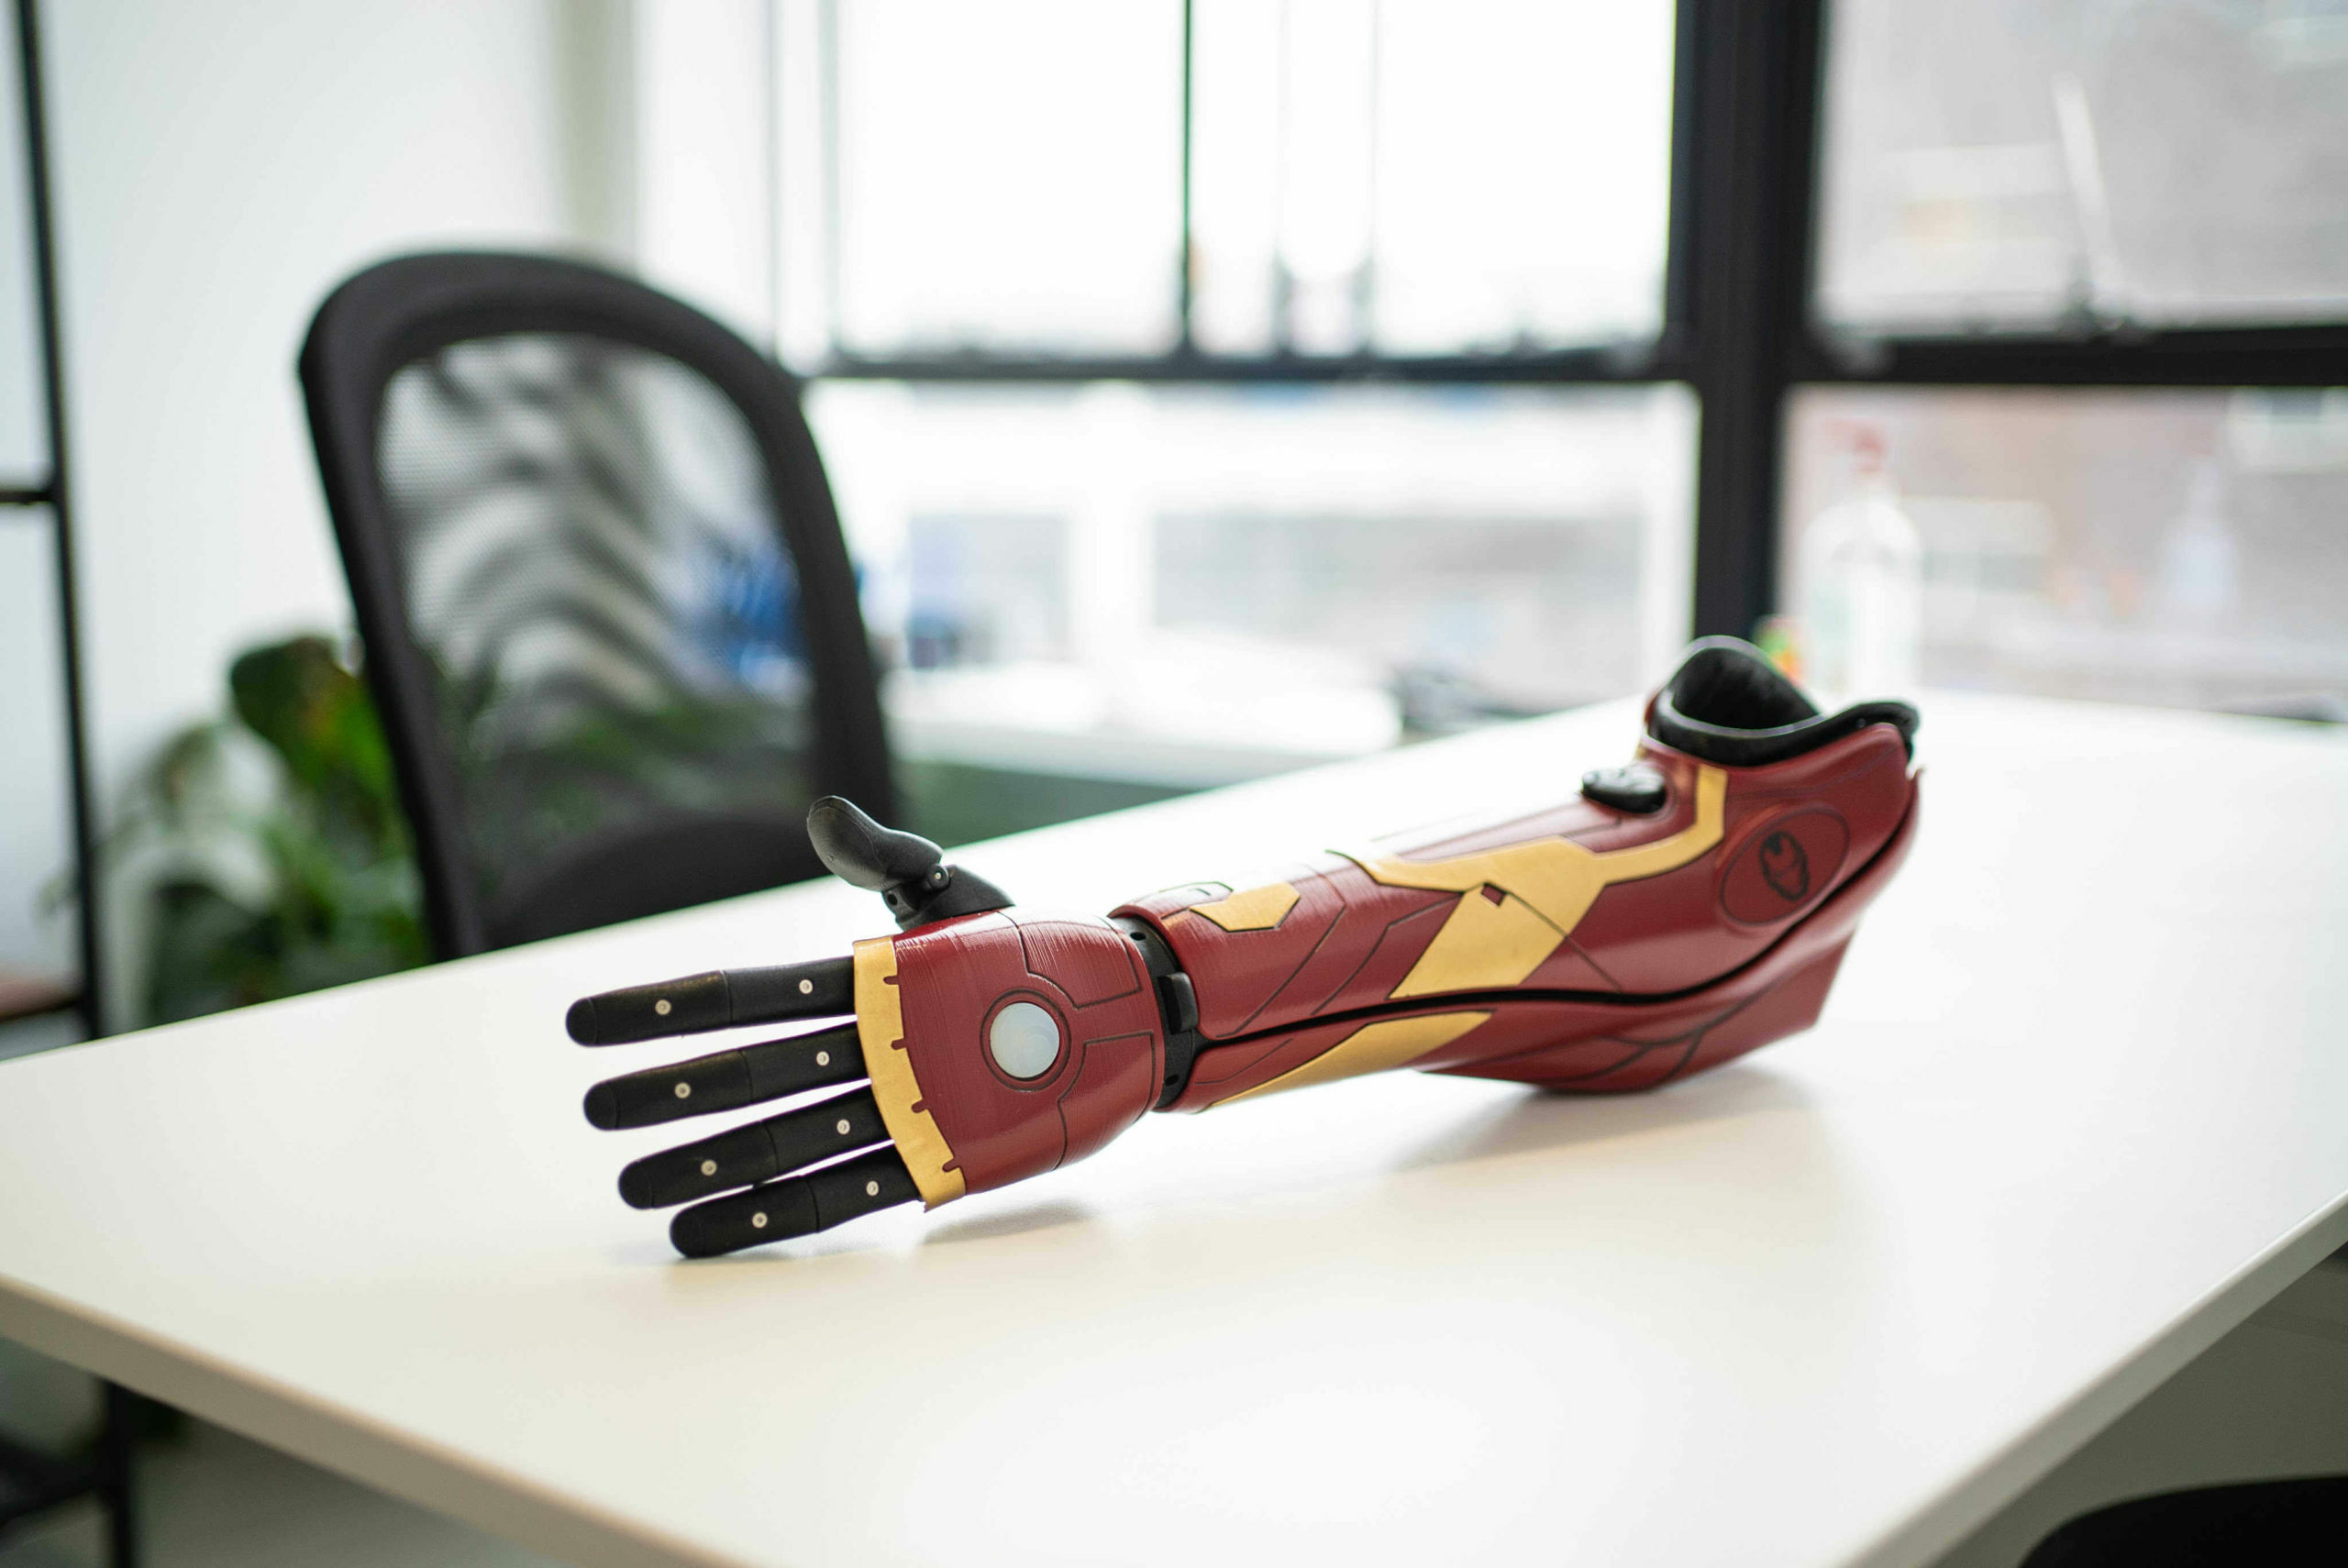
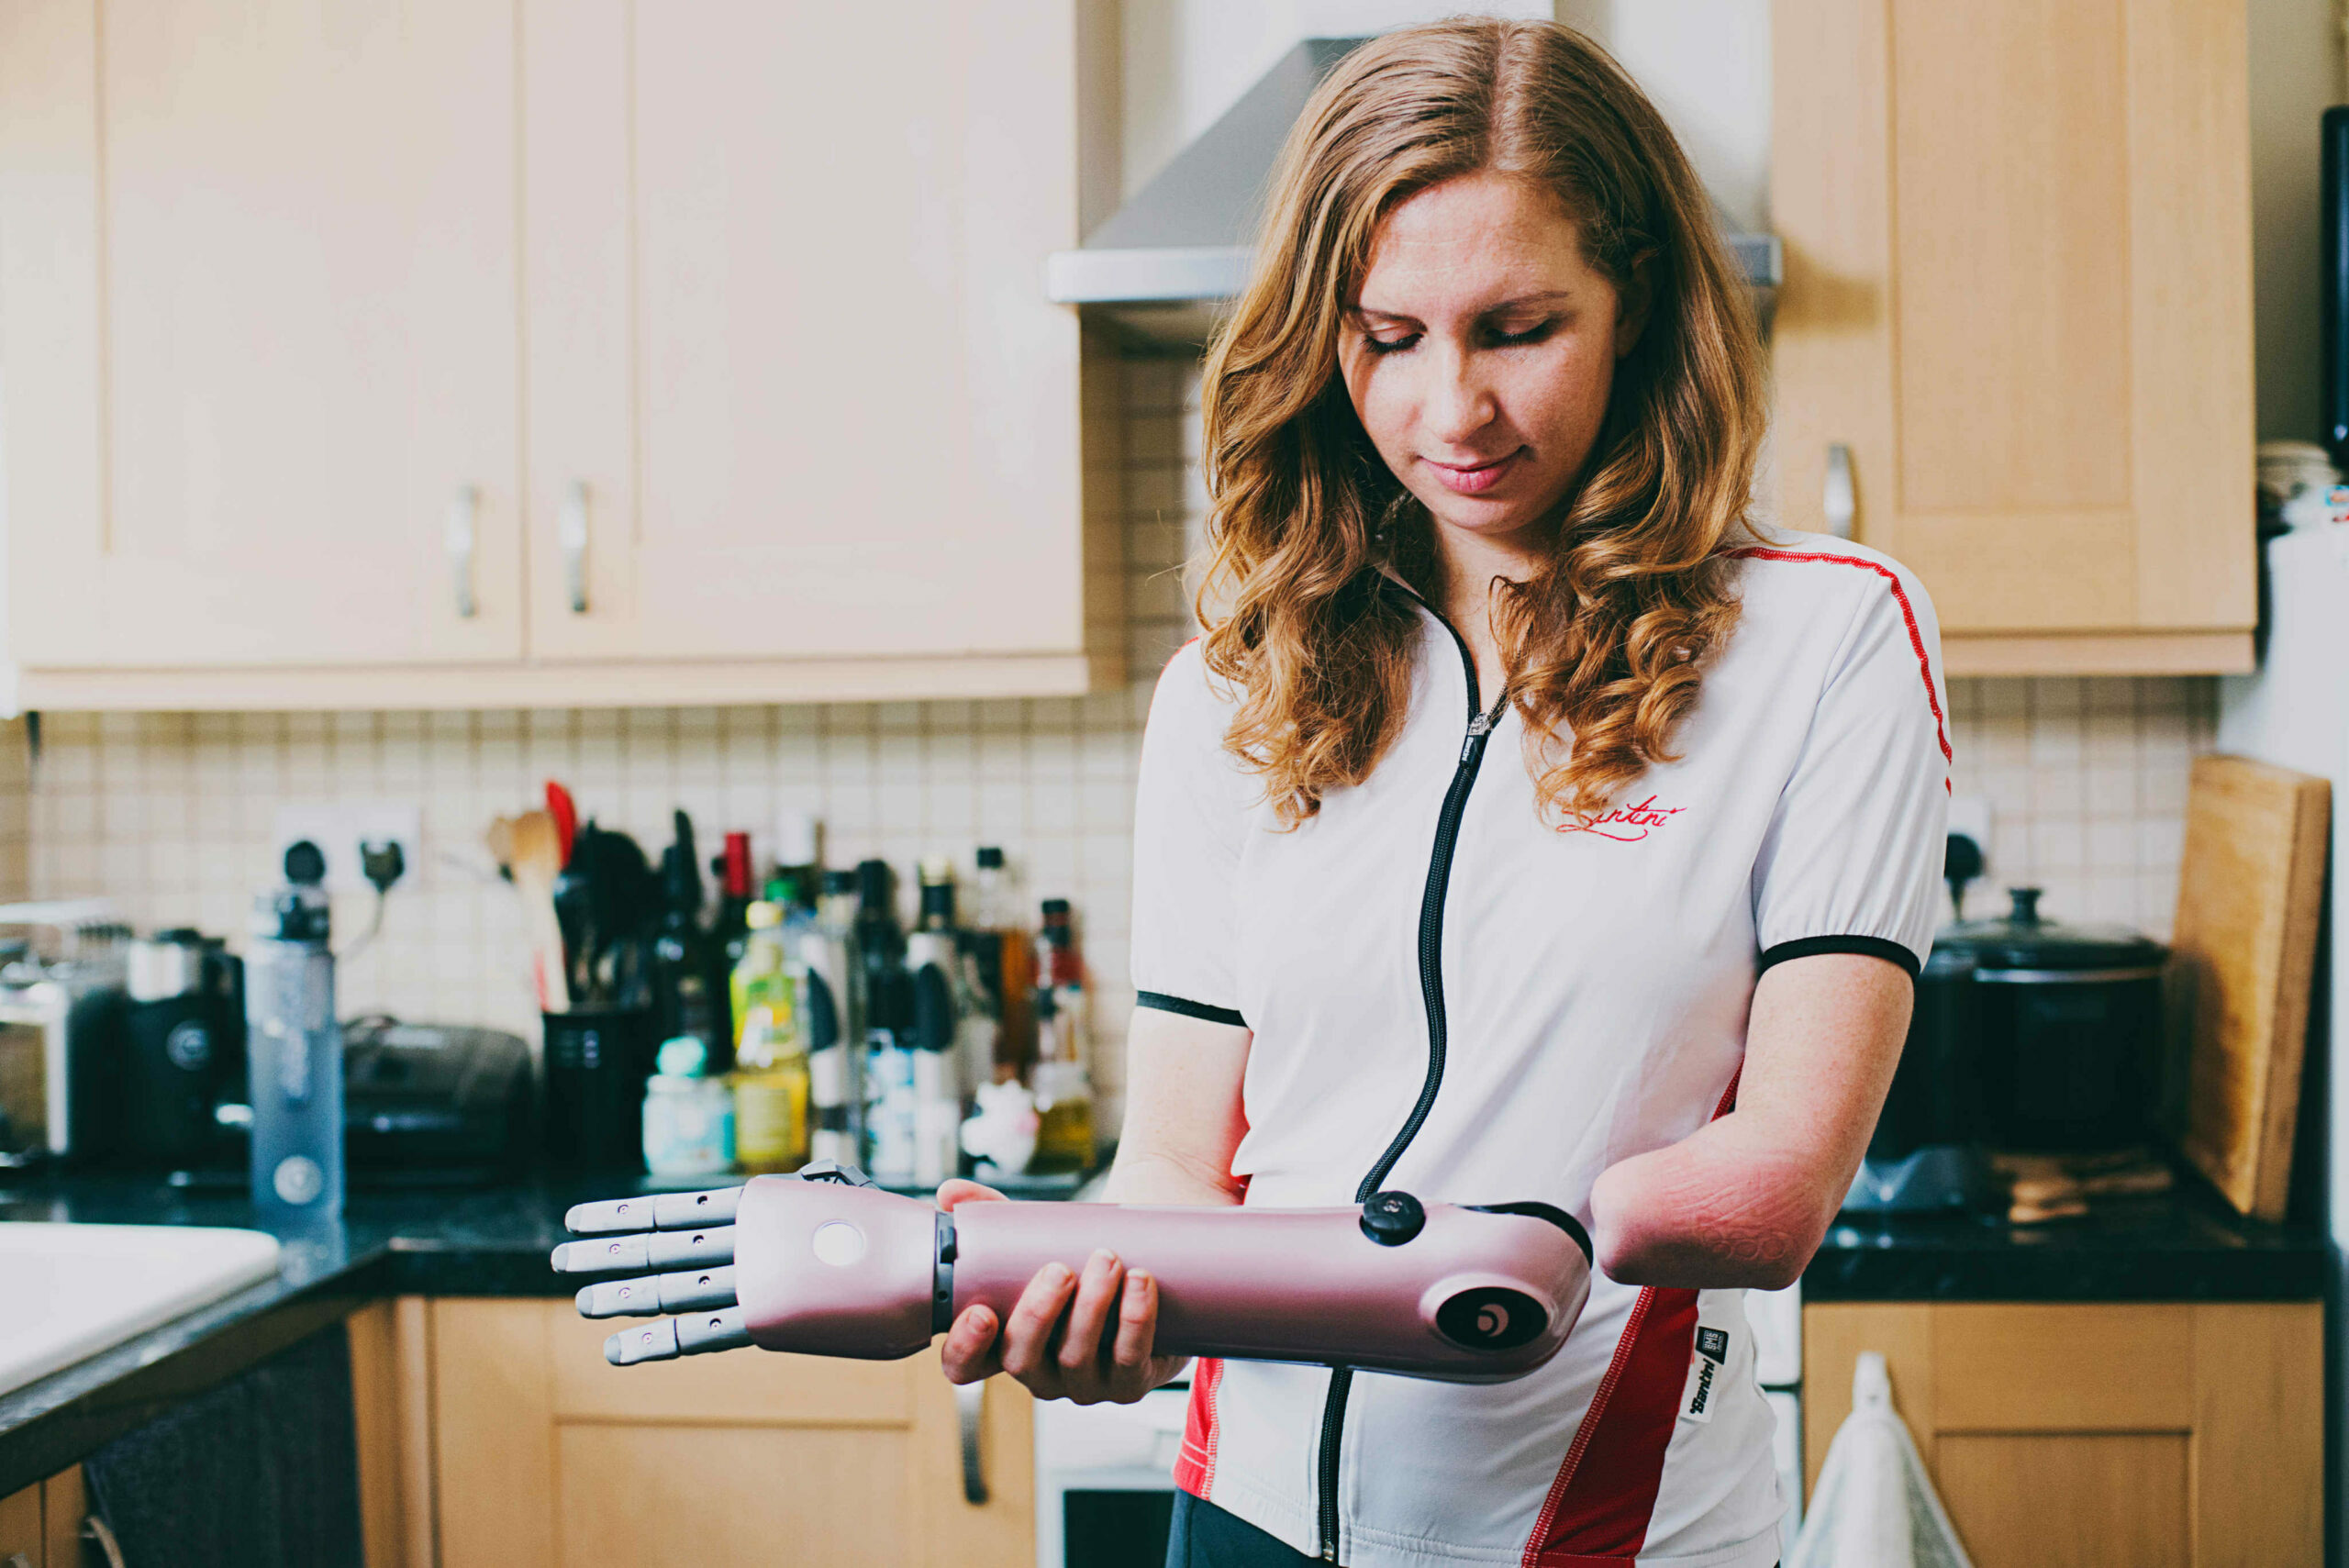
The Hero Arm is a powered by bionic technology controlled by your muscles, with intuitive lifelike precision. Each Hero Arm is bespoke, perfectly formed just for you, with a breathable removable socket for enhanced ventilation and ease of cleaning. Powered by high-performance motors, advanced software and long-lasting batteries, it is lightweight and stylish.
This manual will give you an overview of how to use and look after your Hero Arm, and the important safety considerations.

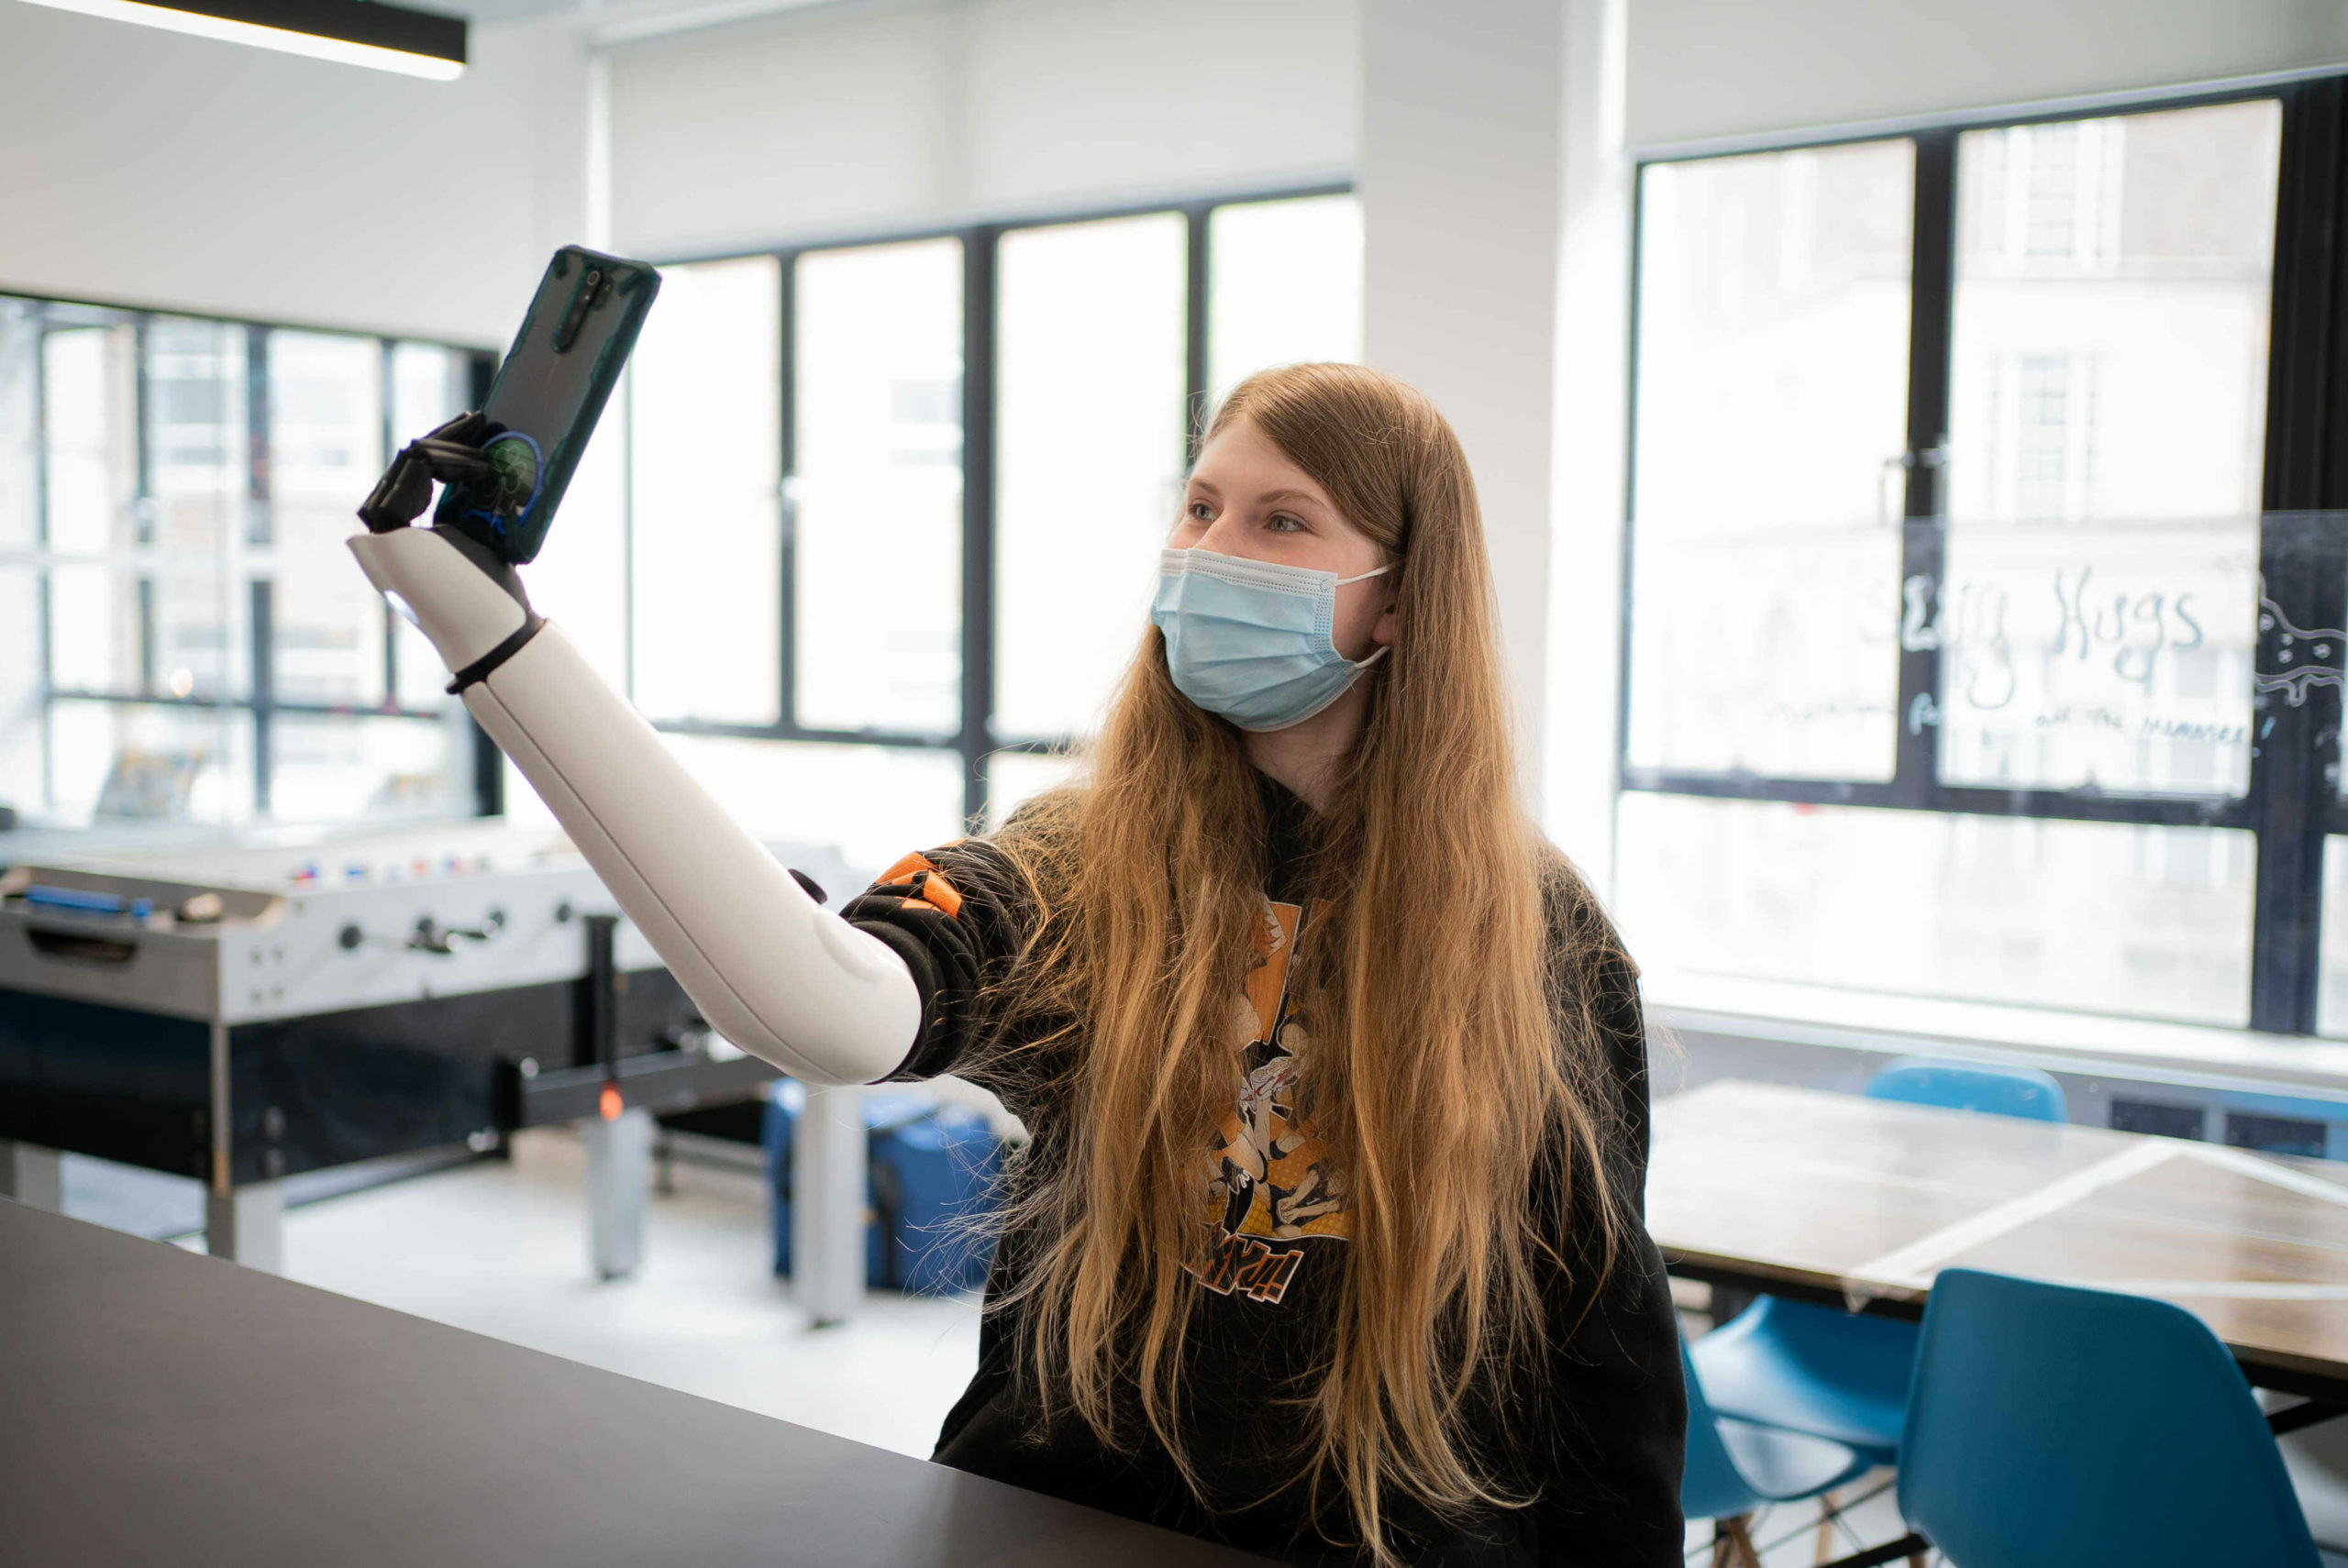
Our super user Tilly has put together some really quick videos that will highlight how the Hero Arm works when taking on daily activities. Activities include:
Switching on your Hero Arm
Adjusting wrist & thumb
Pouring & Drinking Water

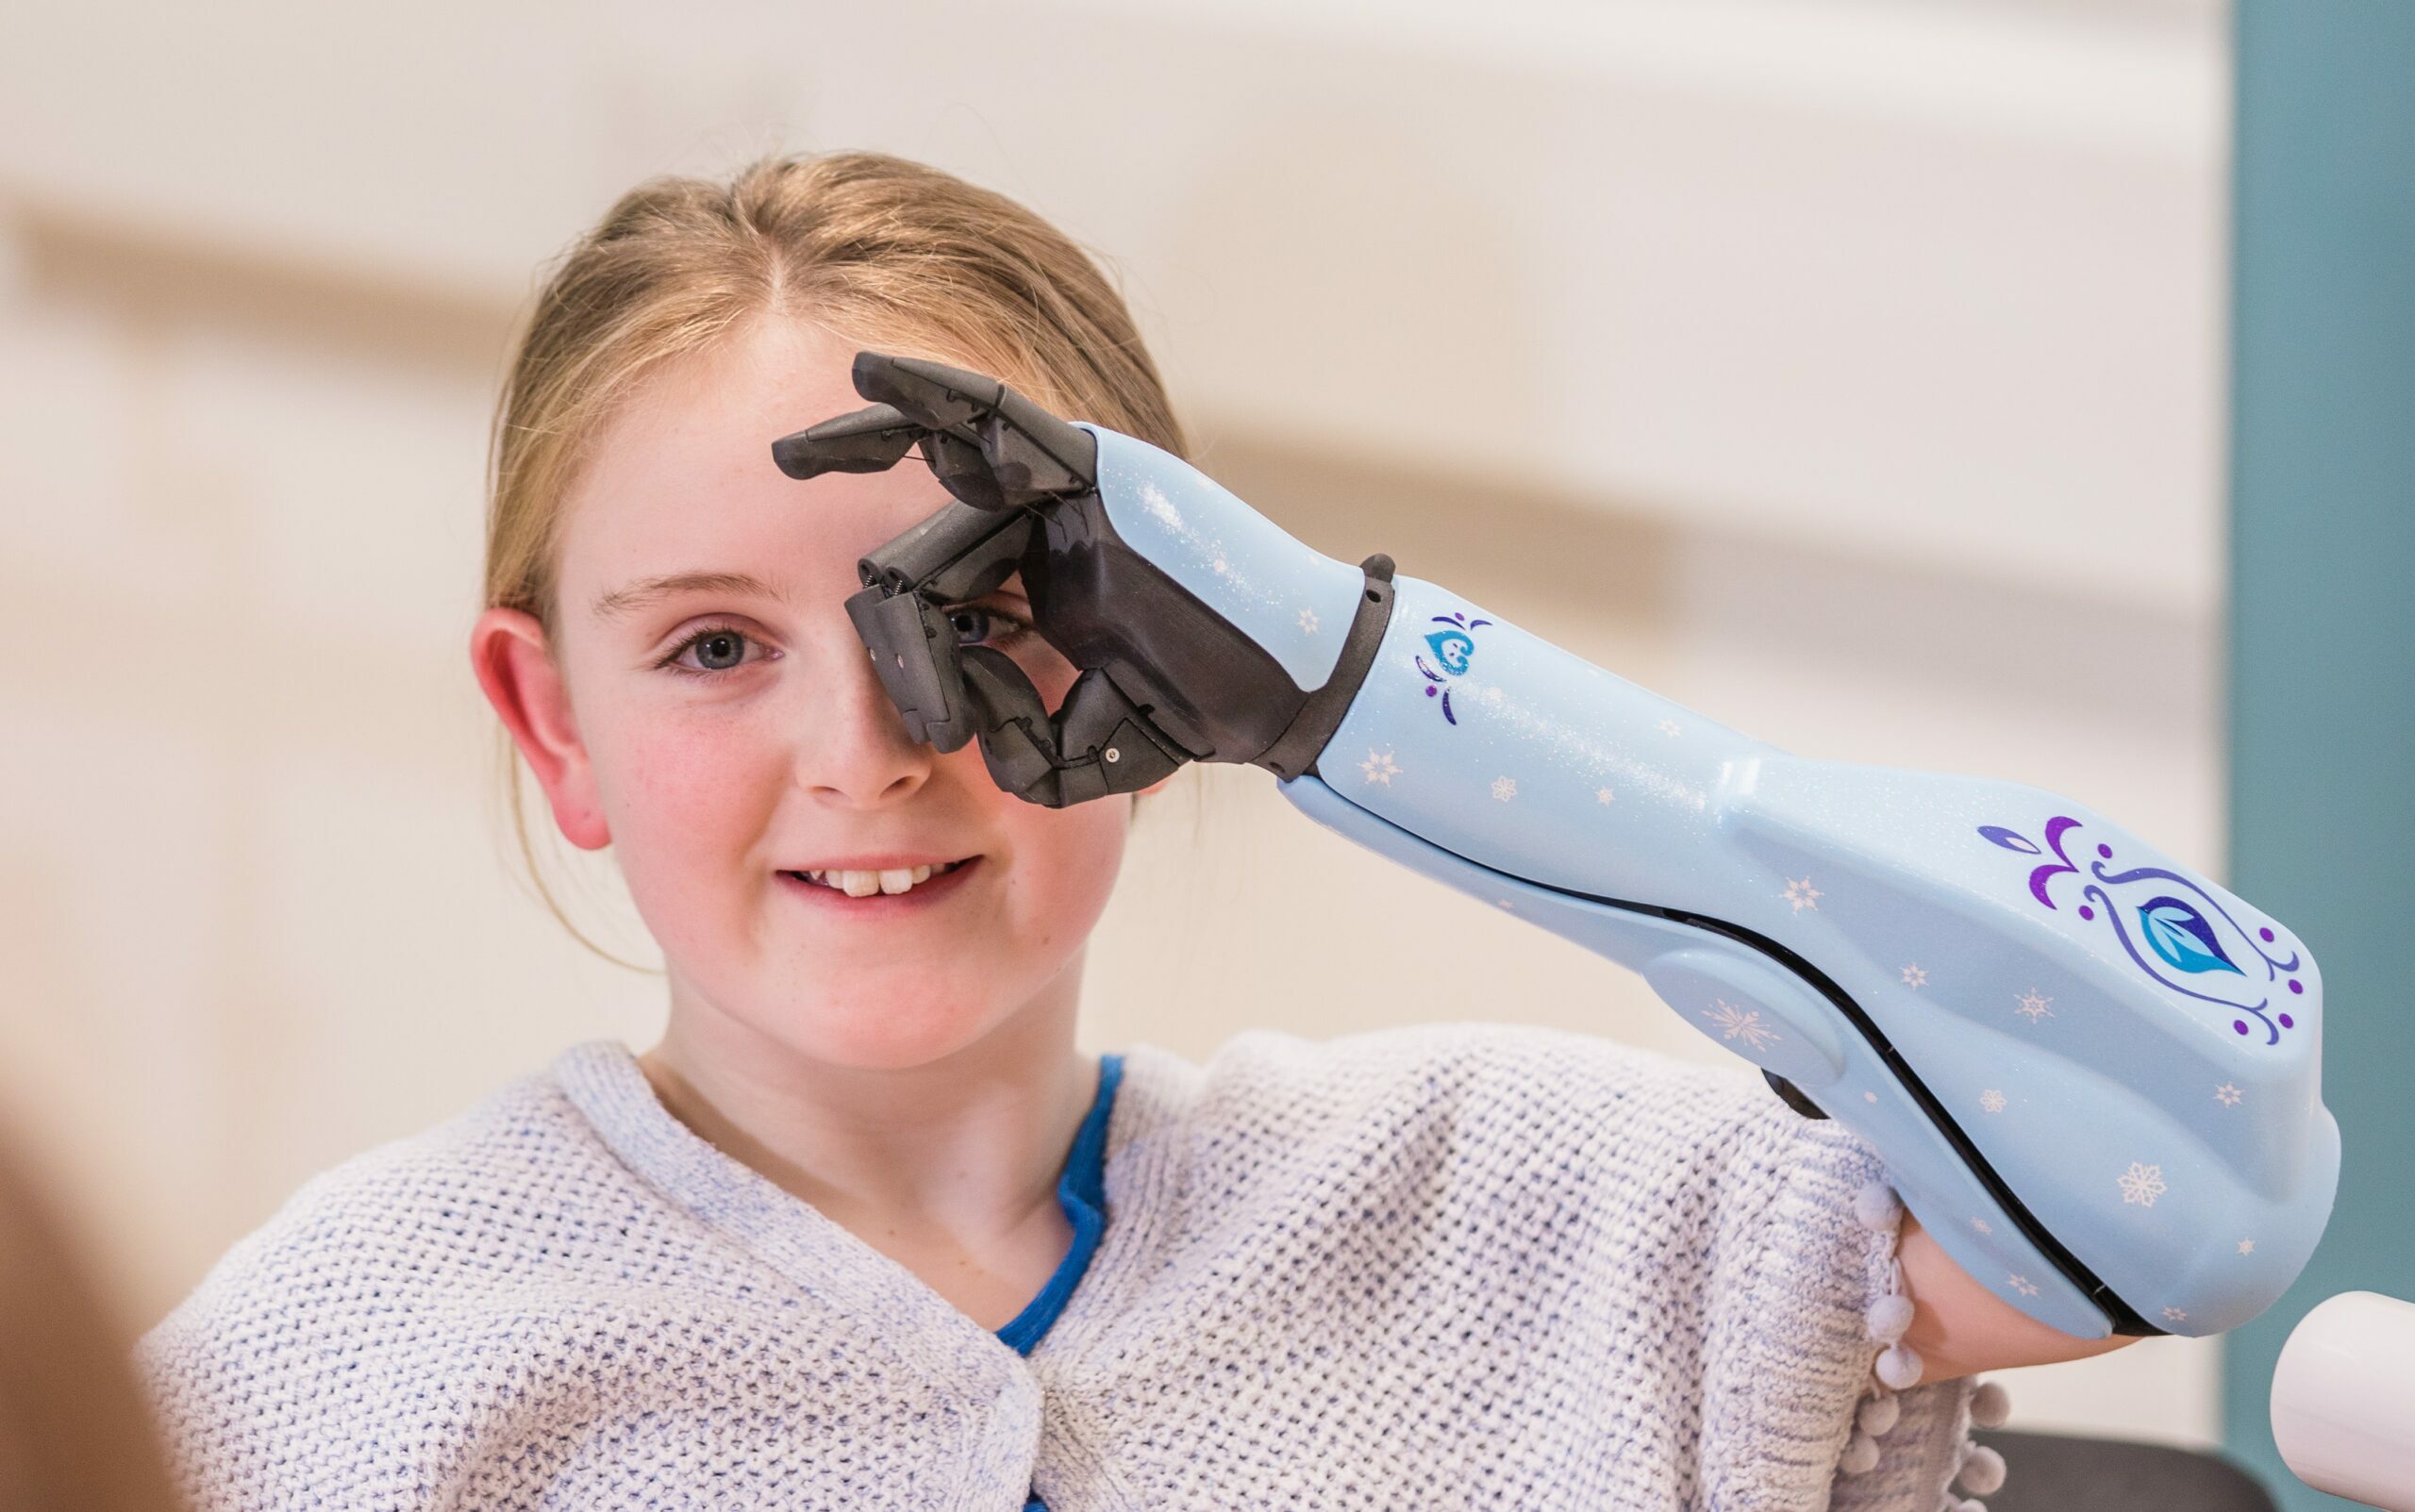
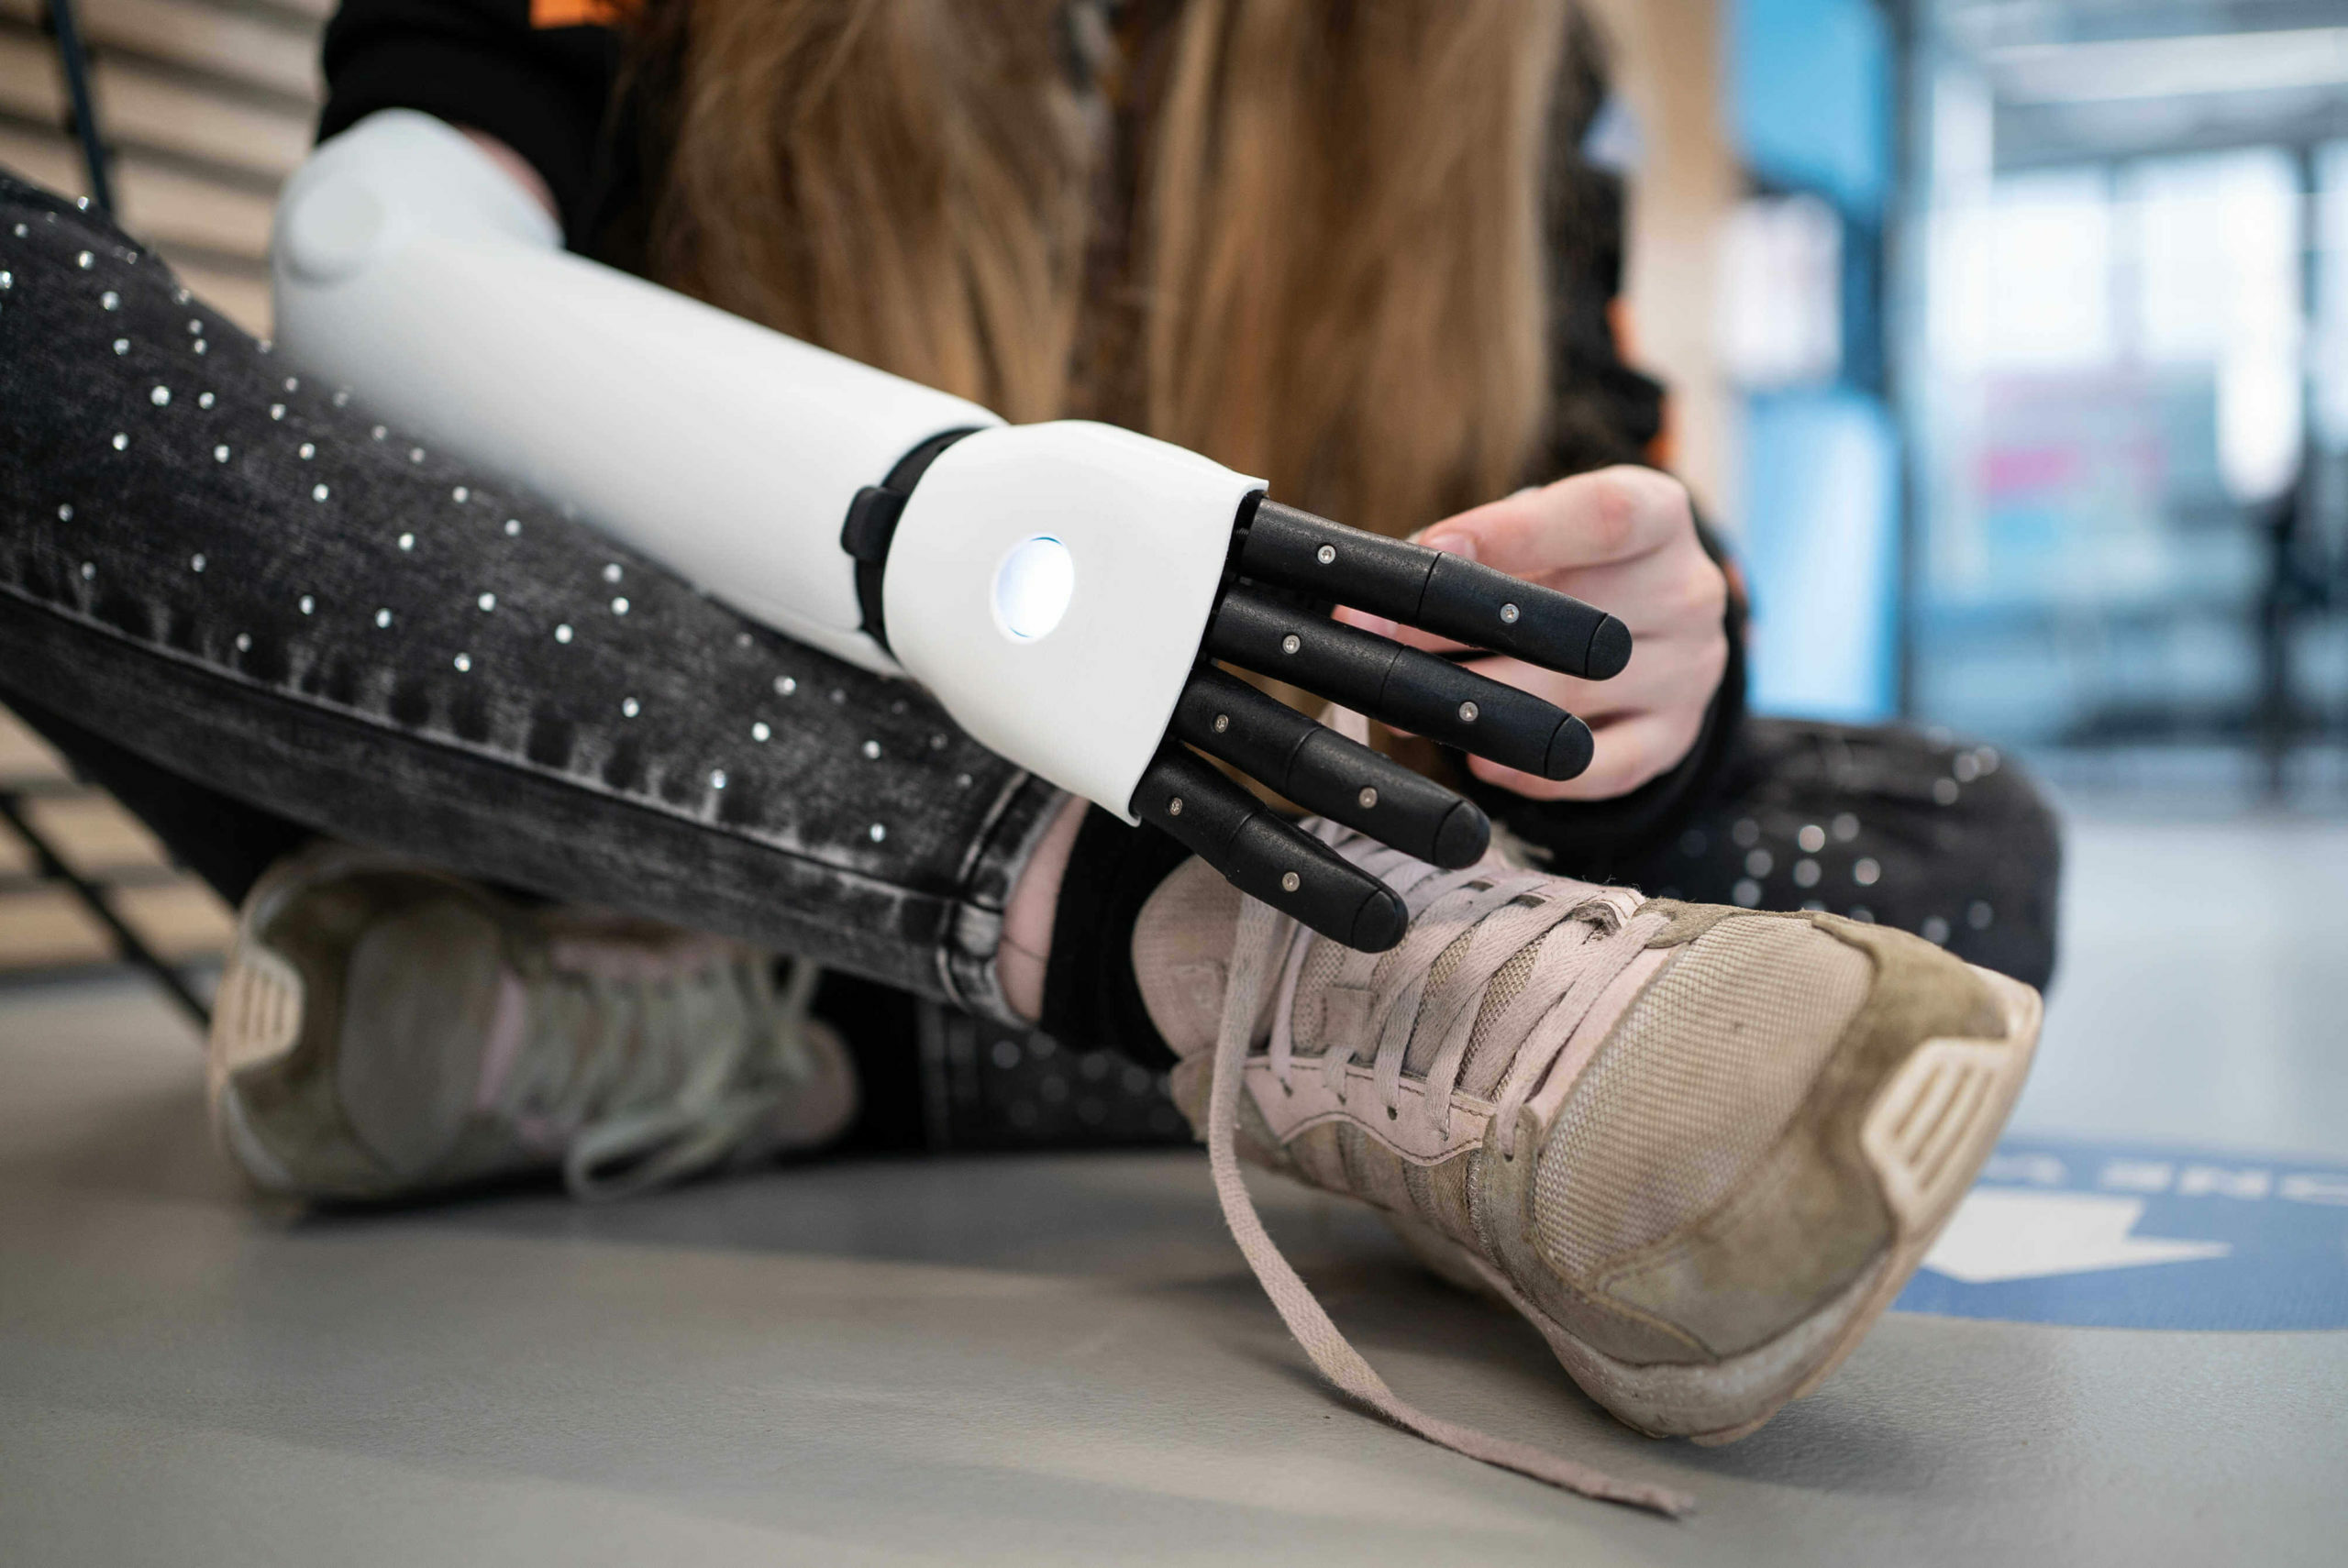
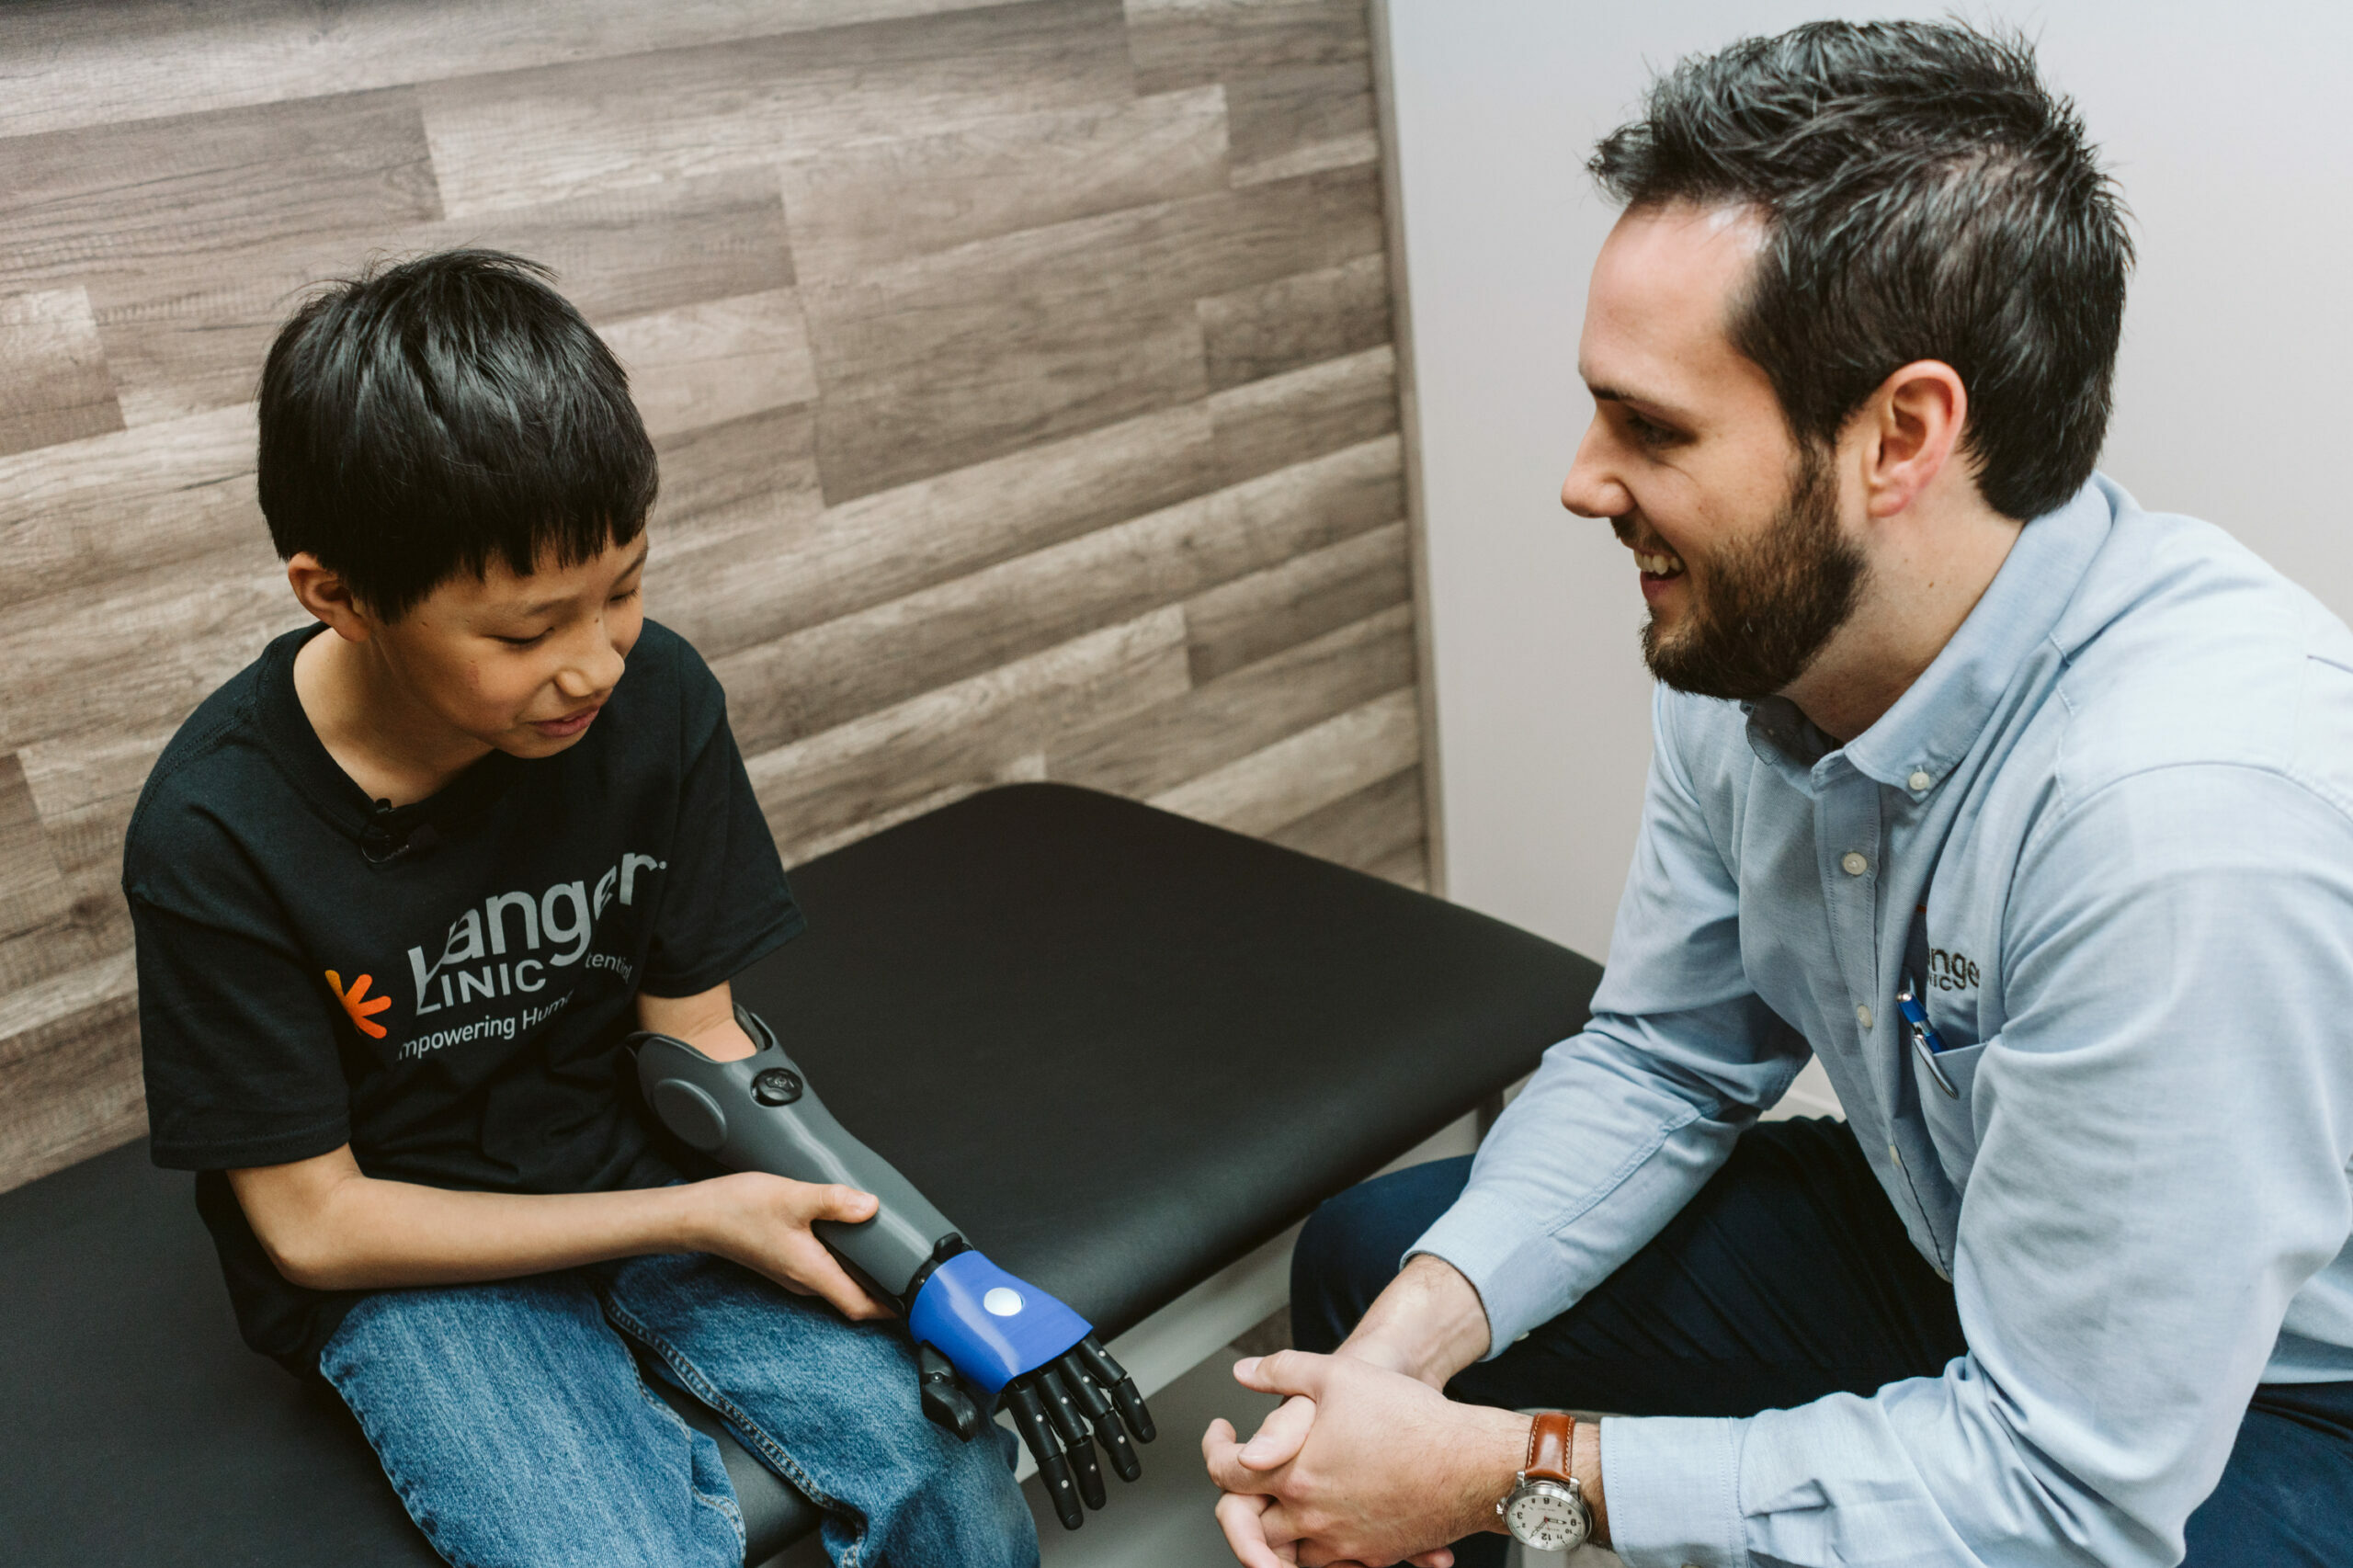
Each Hero Arm is custom built for every individual, and comes in 3 different hand sizes and 2 different arm layouts. As a result, you may see some differences between your Hero Arm and other Hero Arms out there.
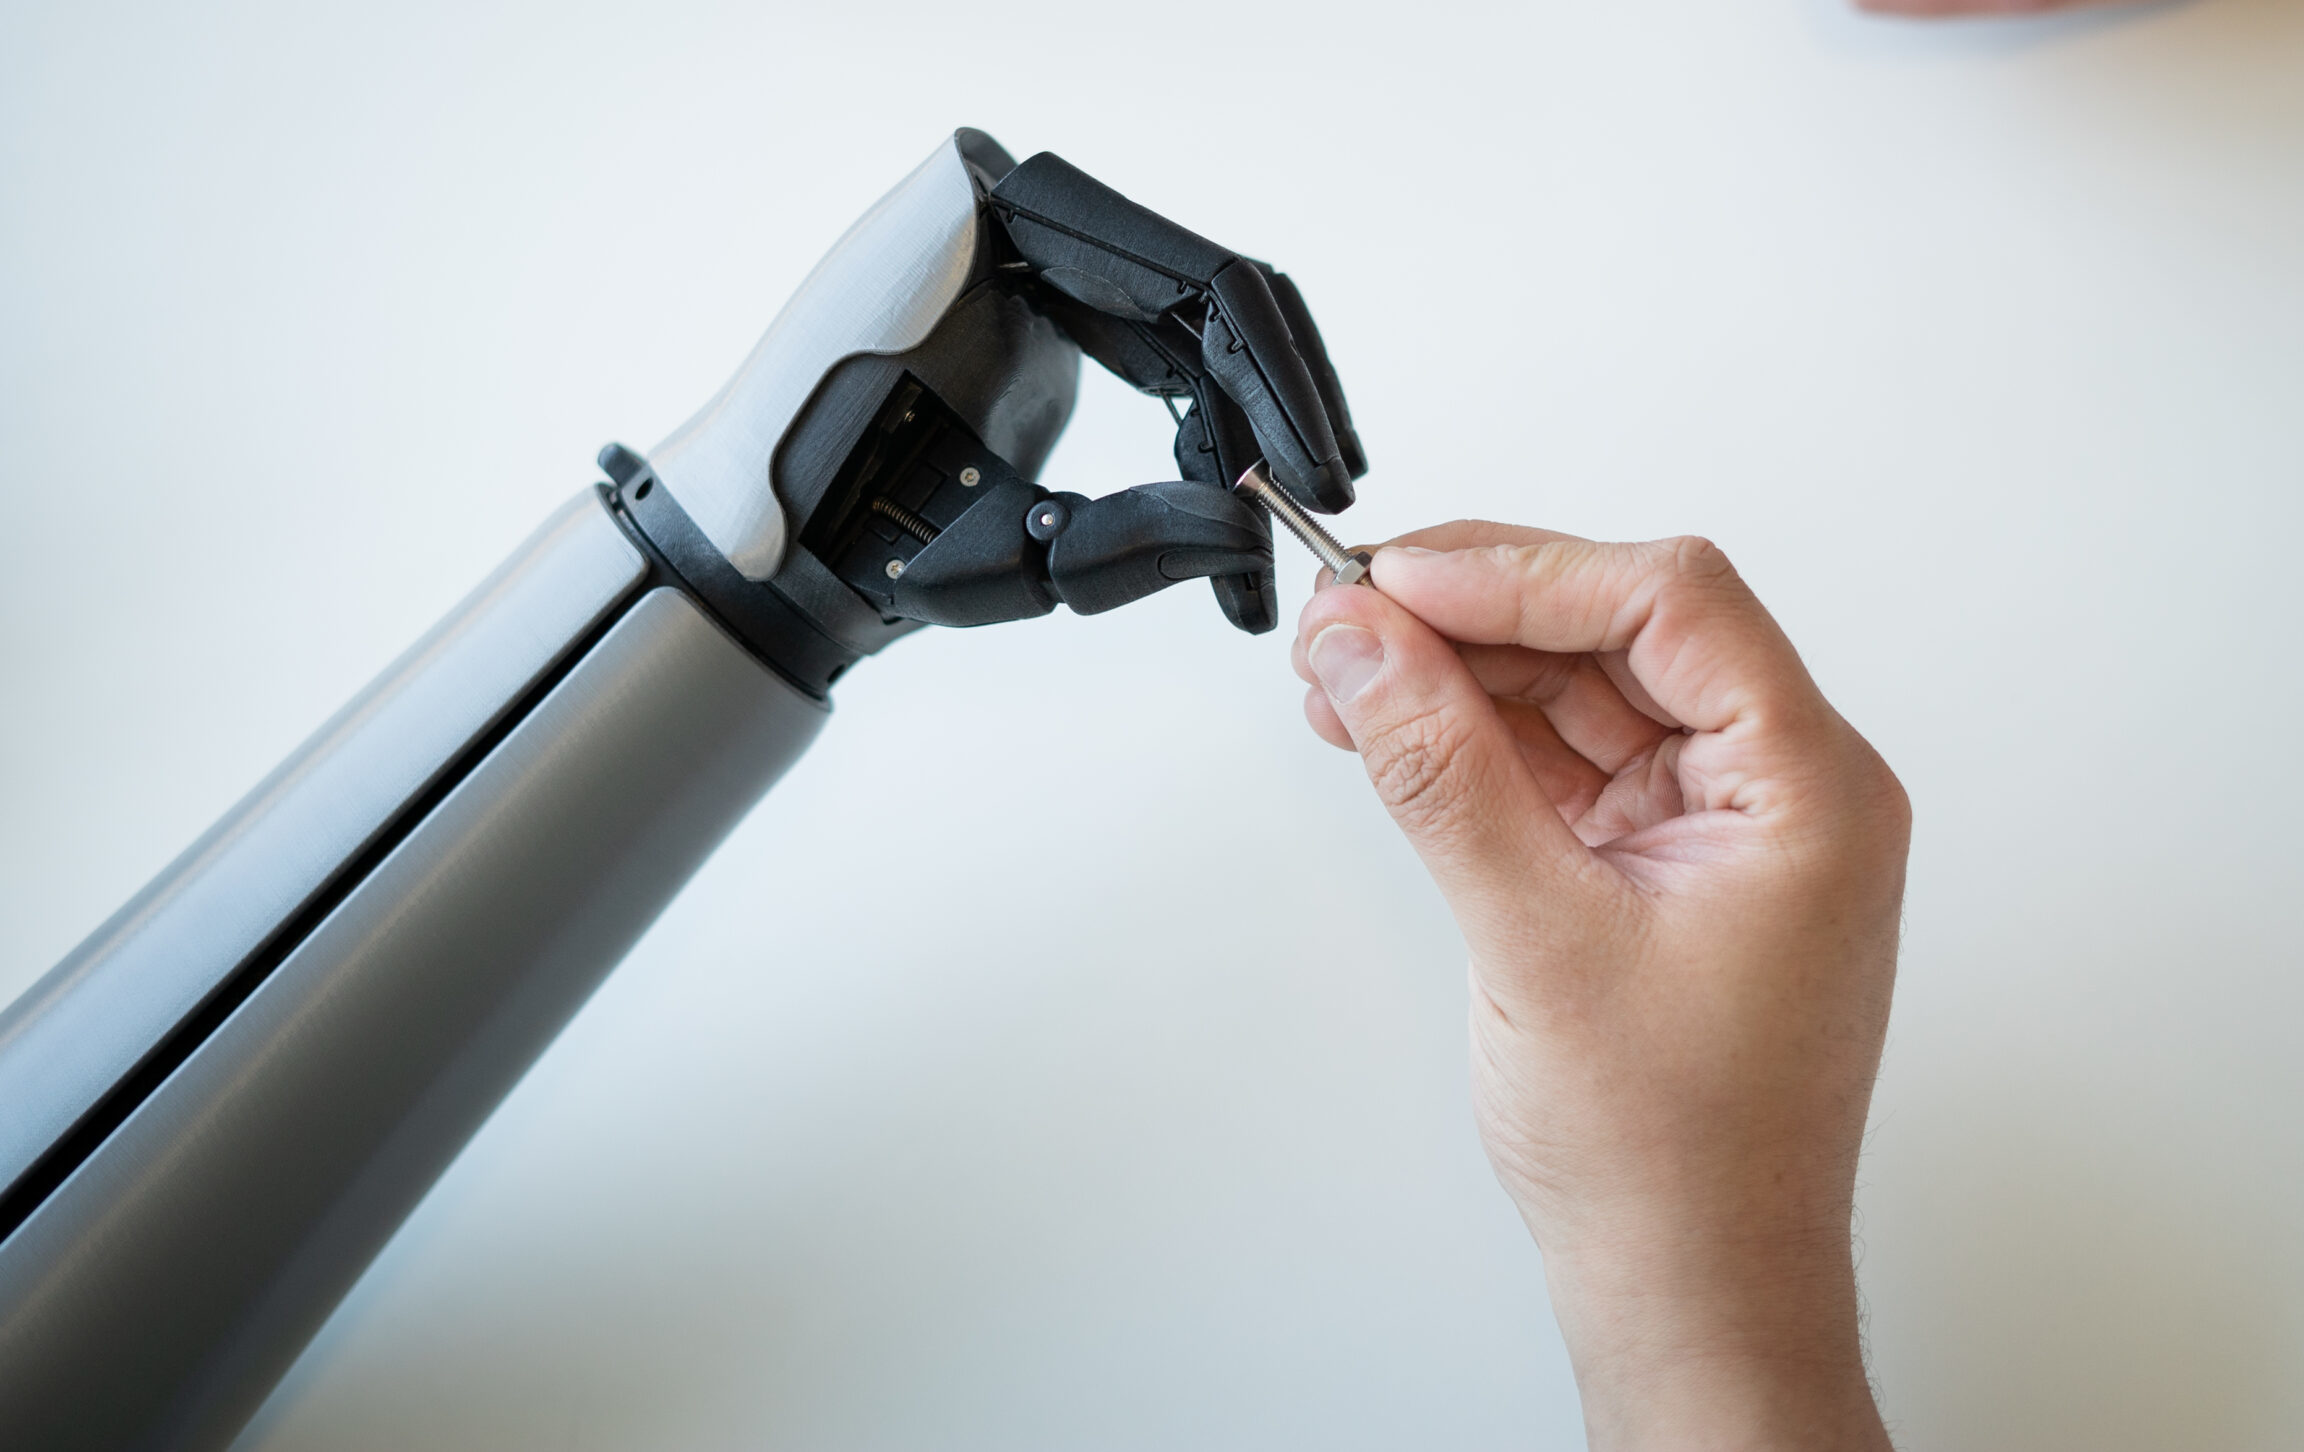
The Hero Arm comes with either a 3 Motor or 4 Motor Hand, depending on the most suitable size of hand for your arm. The key differences are the reduced size of the 3 Motor version, and the number of tendons. The 4 Motor versions have 2 tendons on both the index & middle fingers, which allows them to move independently. On the 3 Motor version, the index & middle fingers will always move together.
Before putting on your Hero Arm for the first time, please familiarise yourself with the full user manual where you can find Hero Arm diagrams and full information on settings.
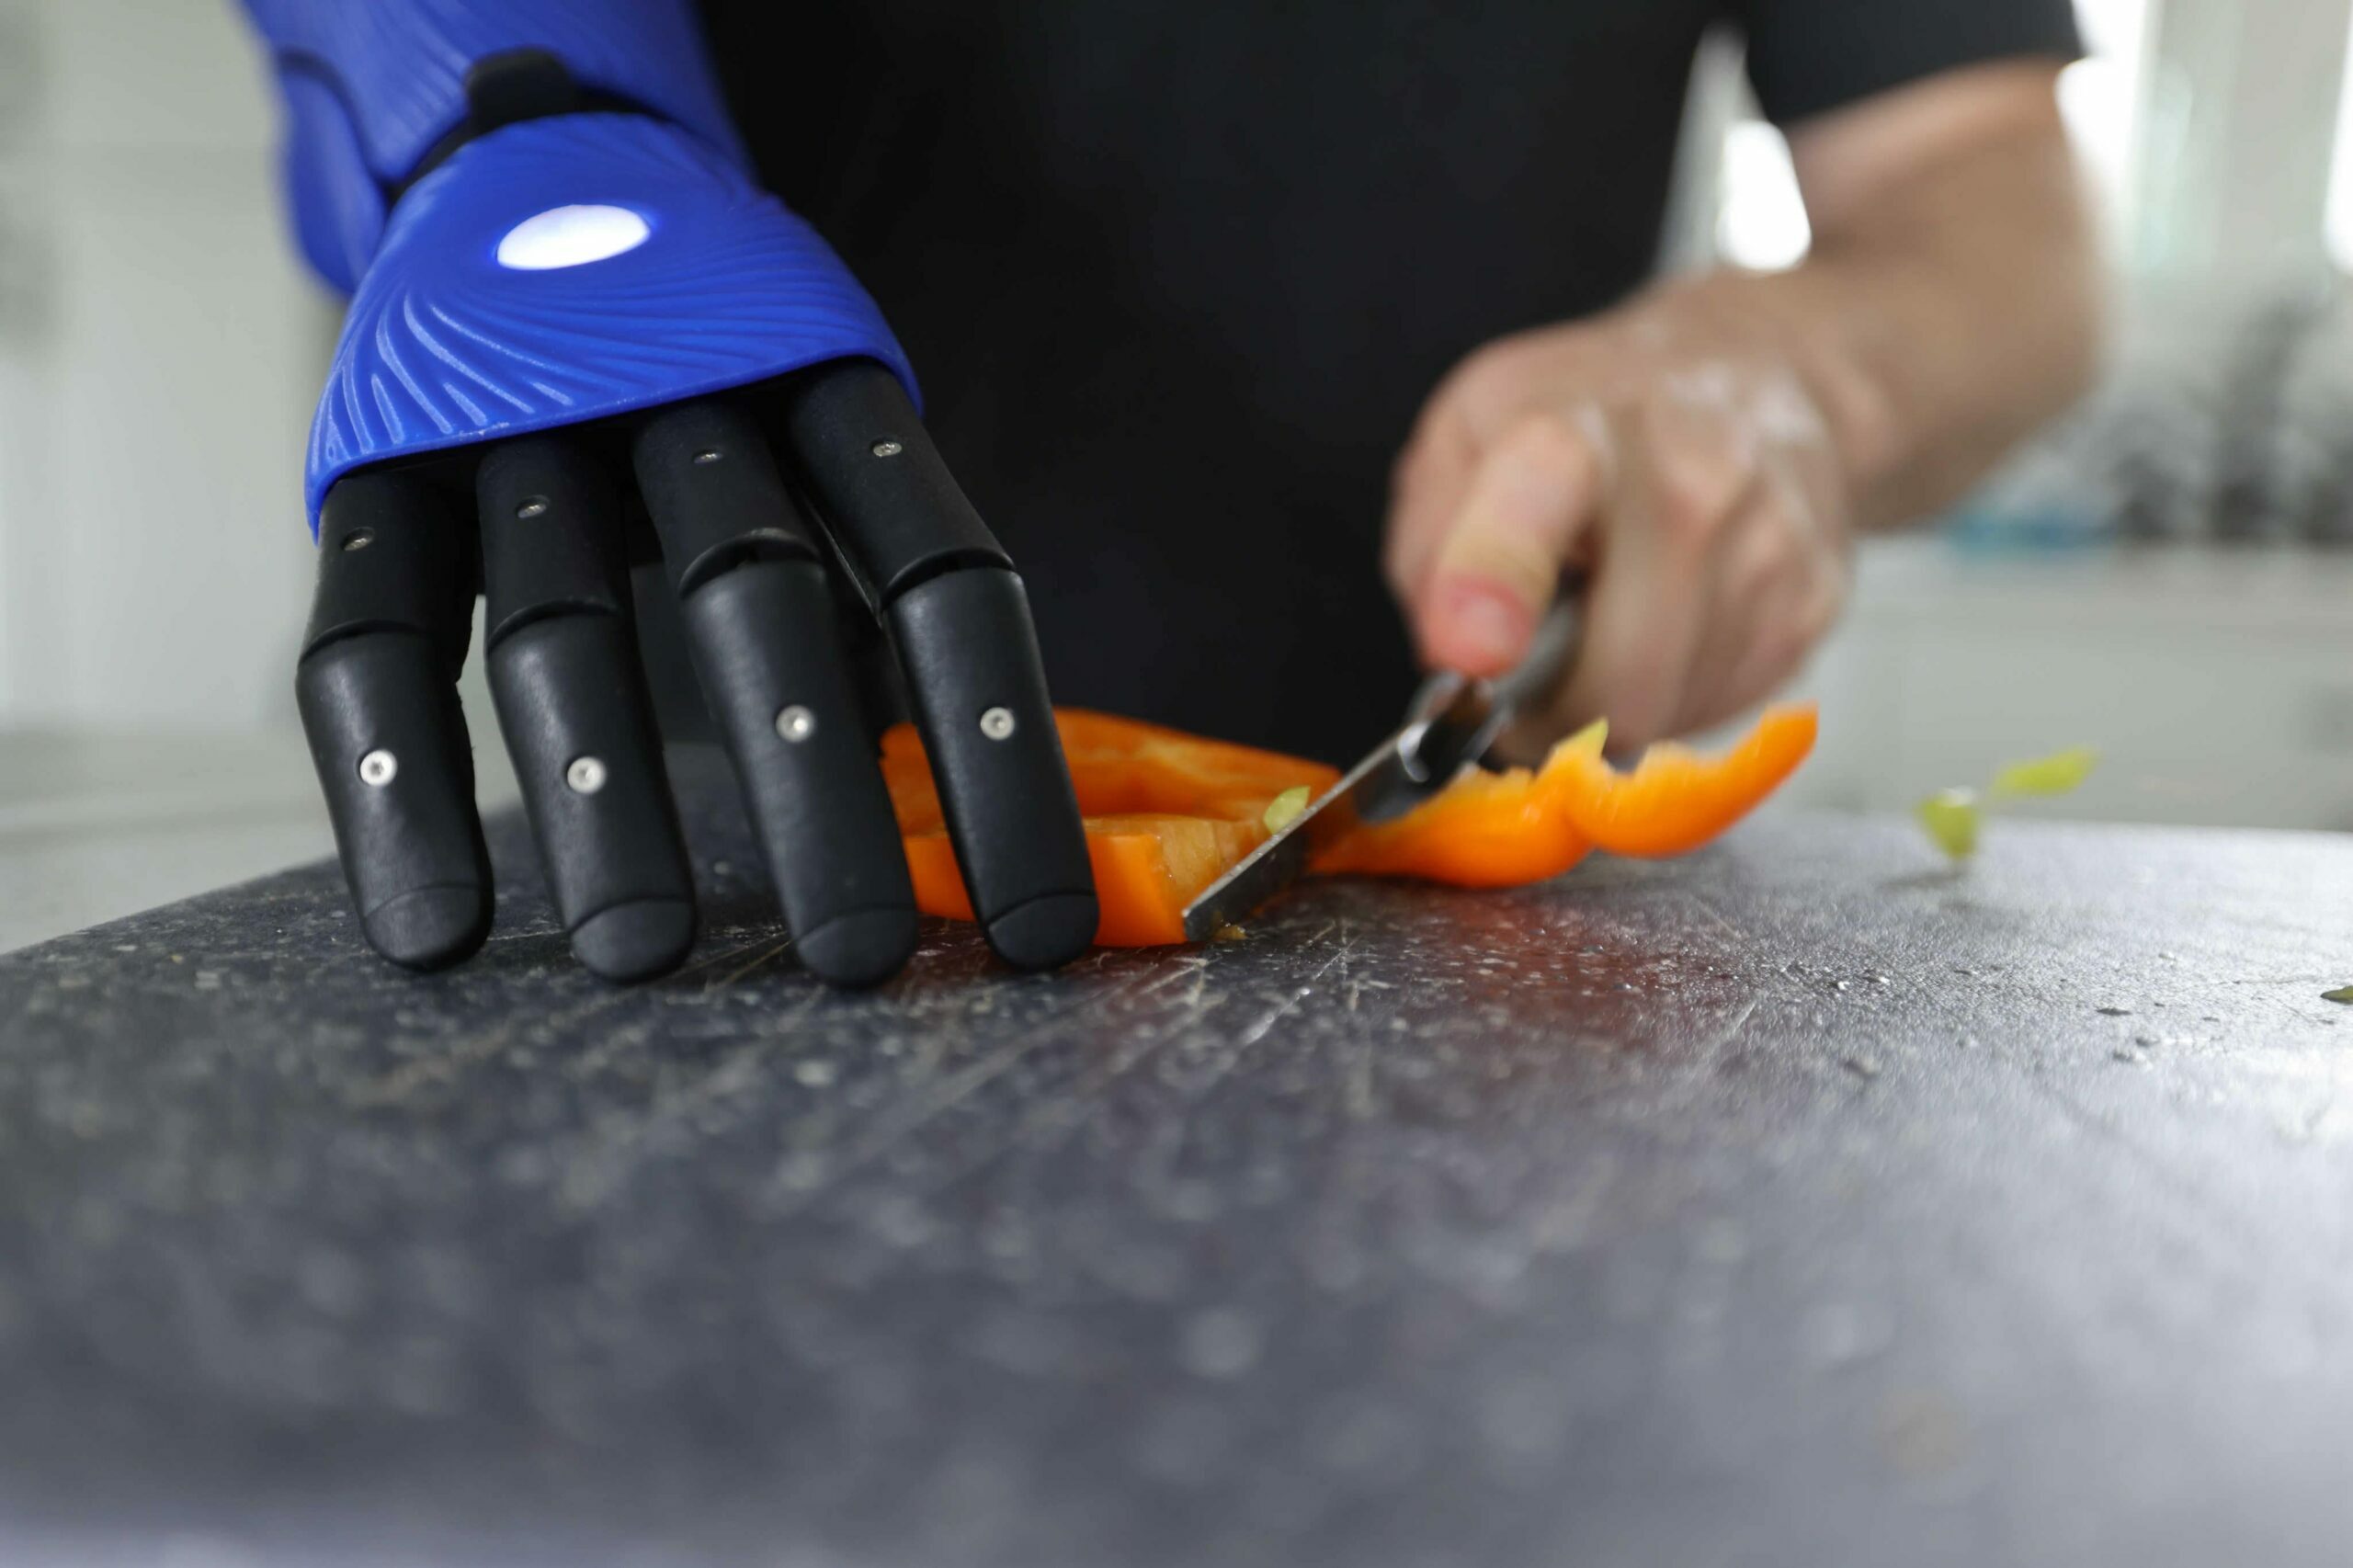
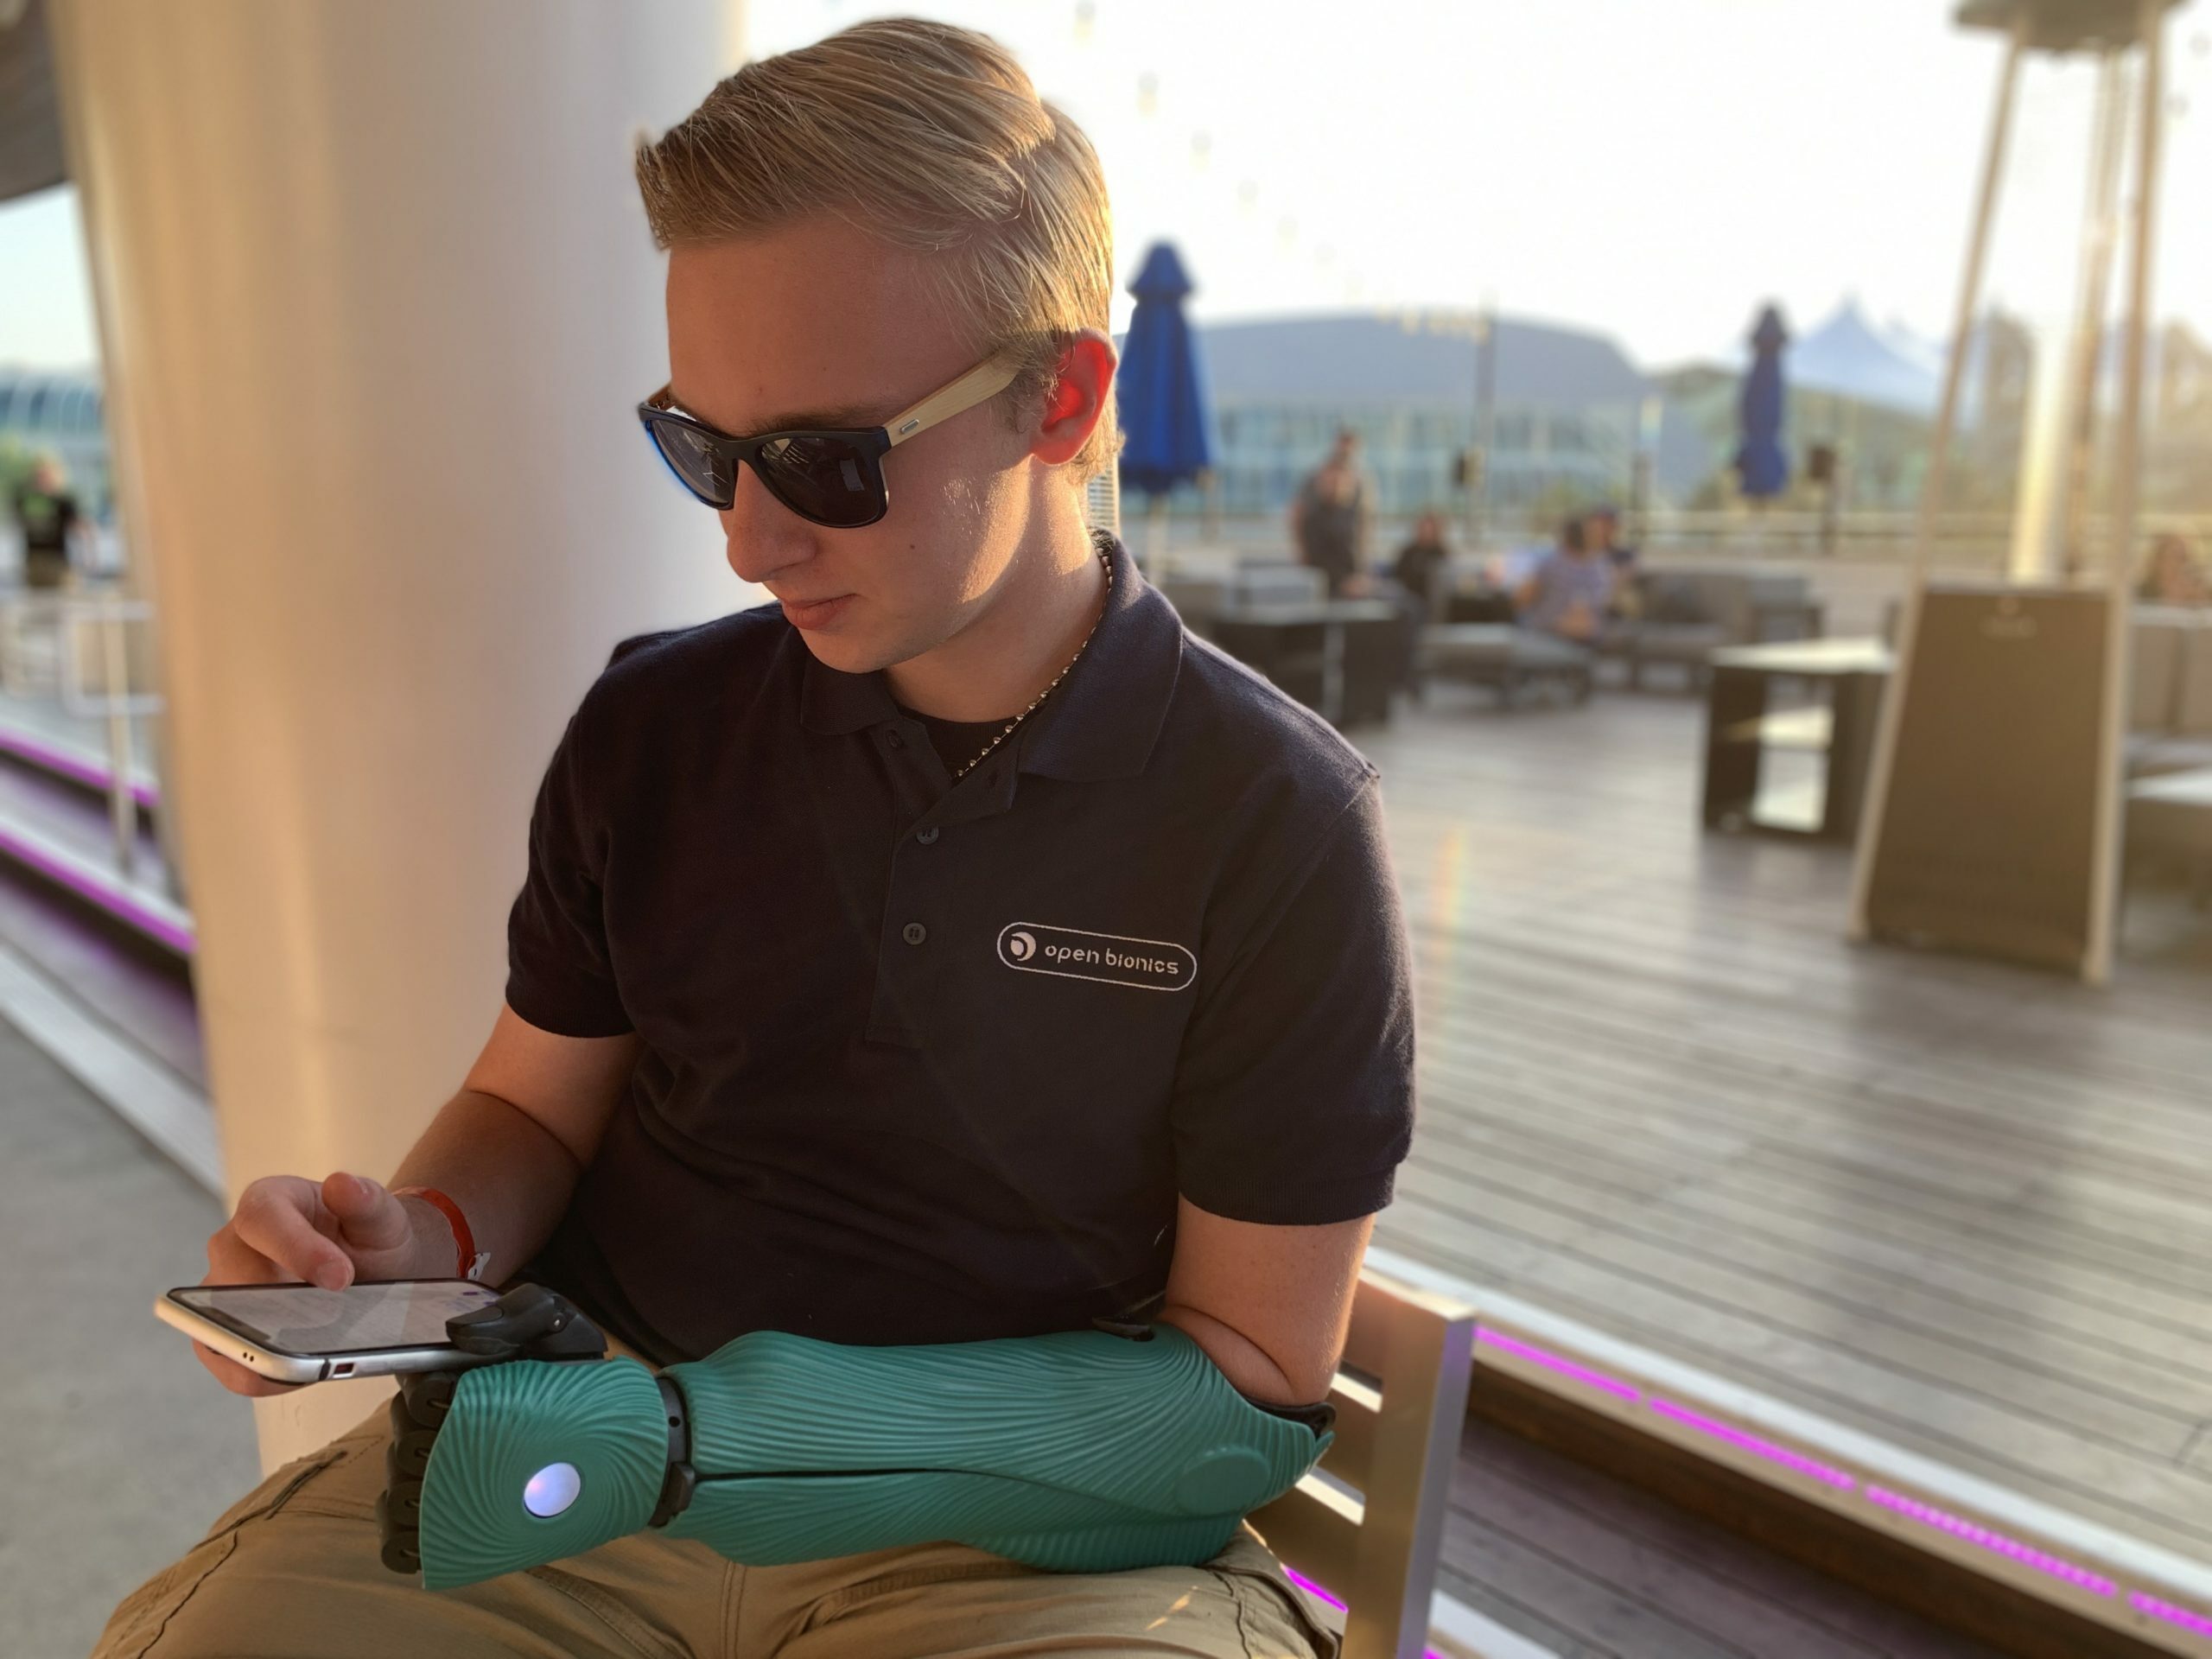
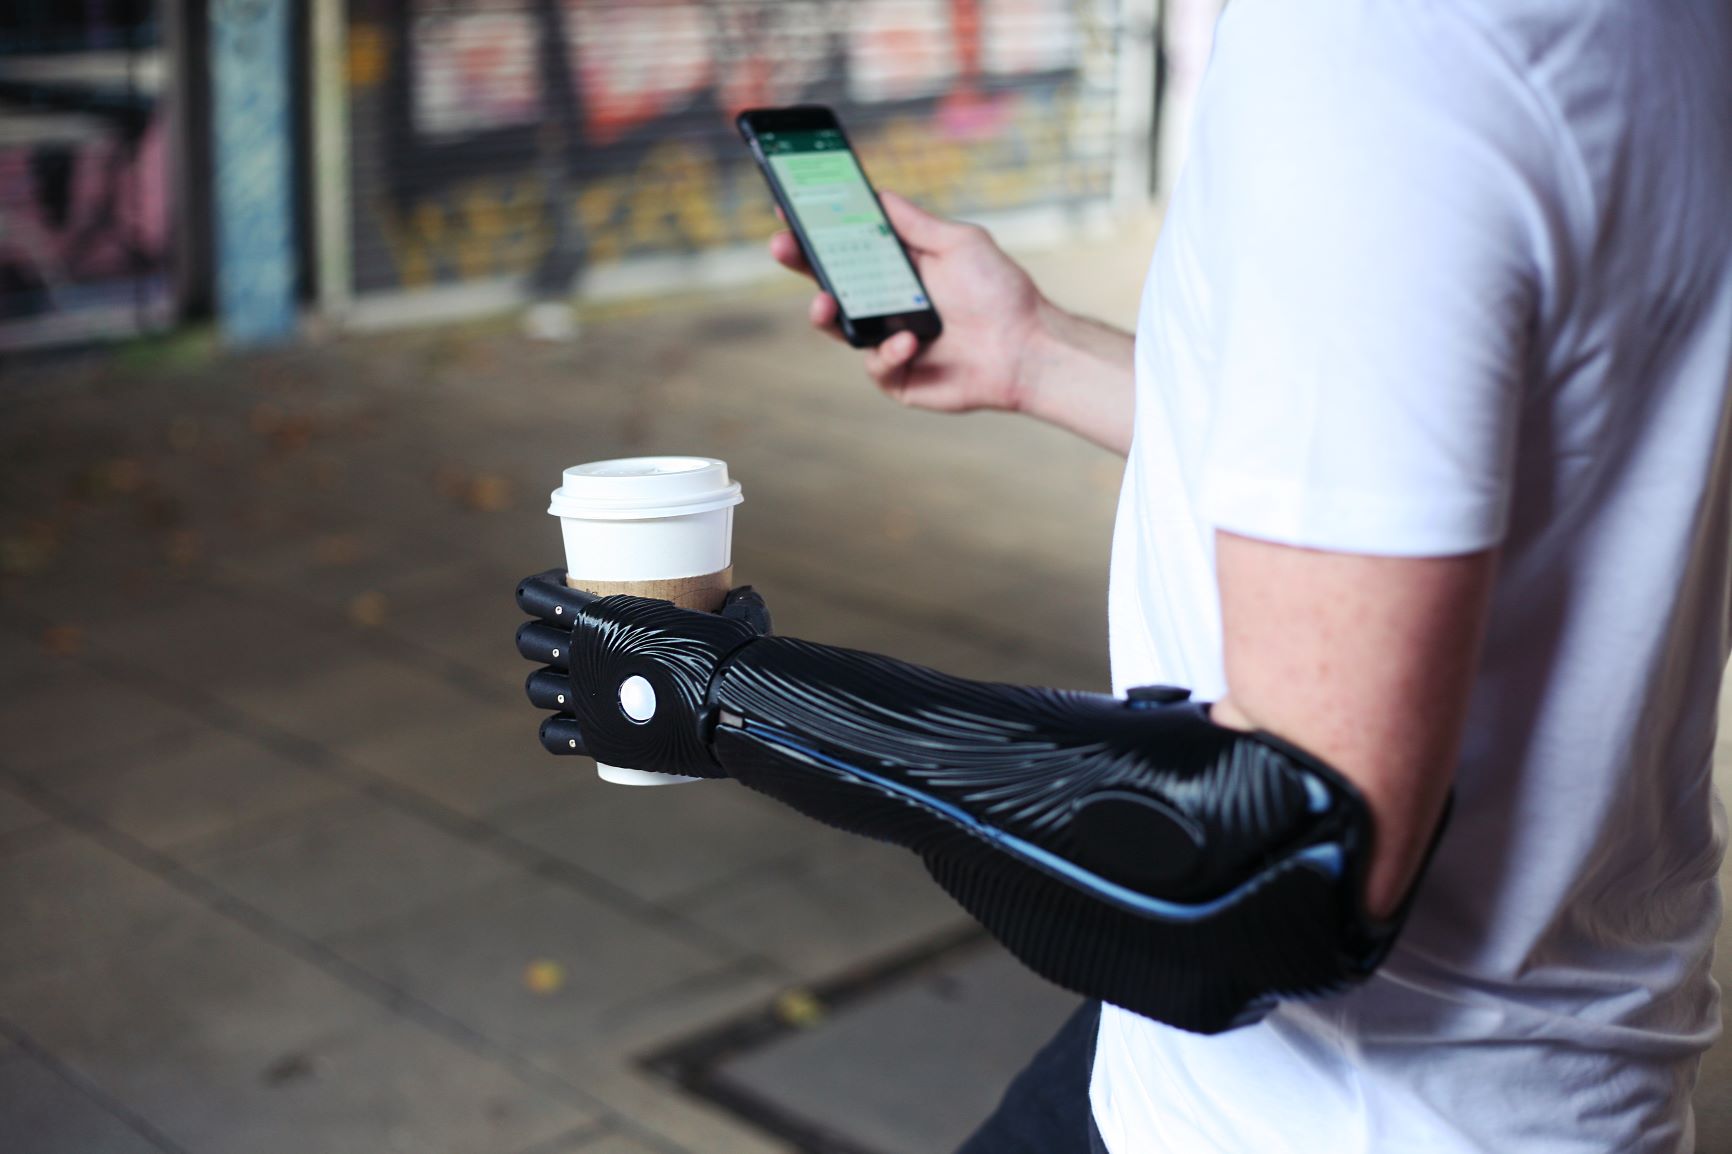
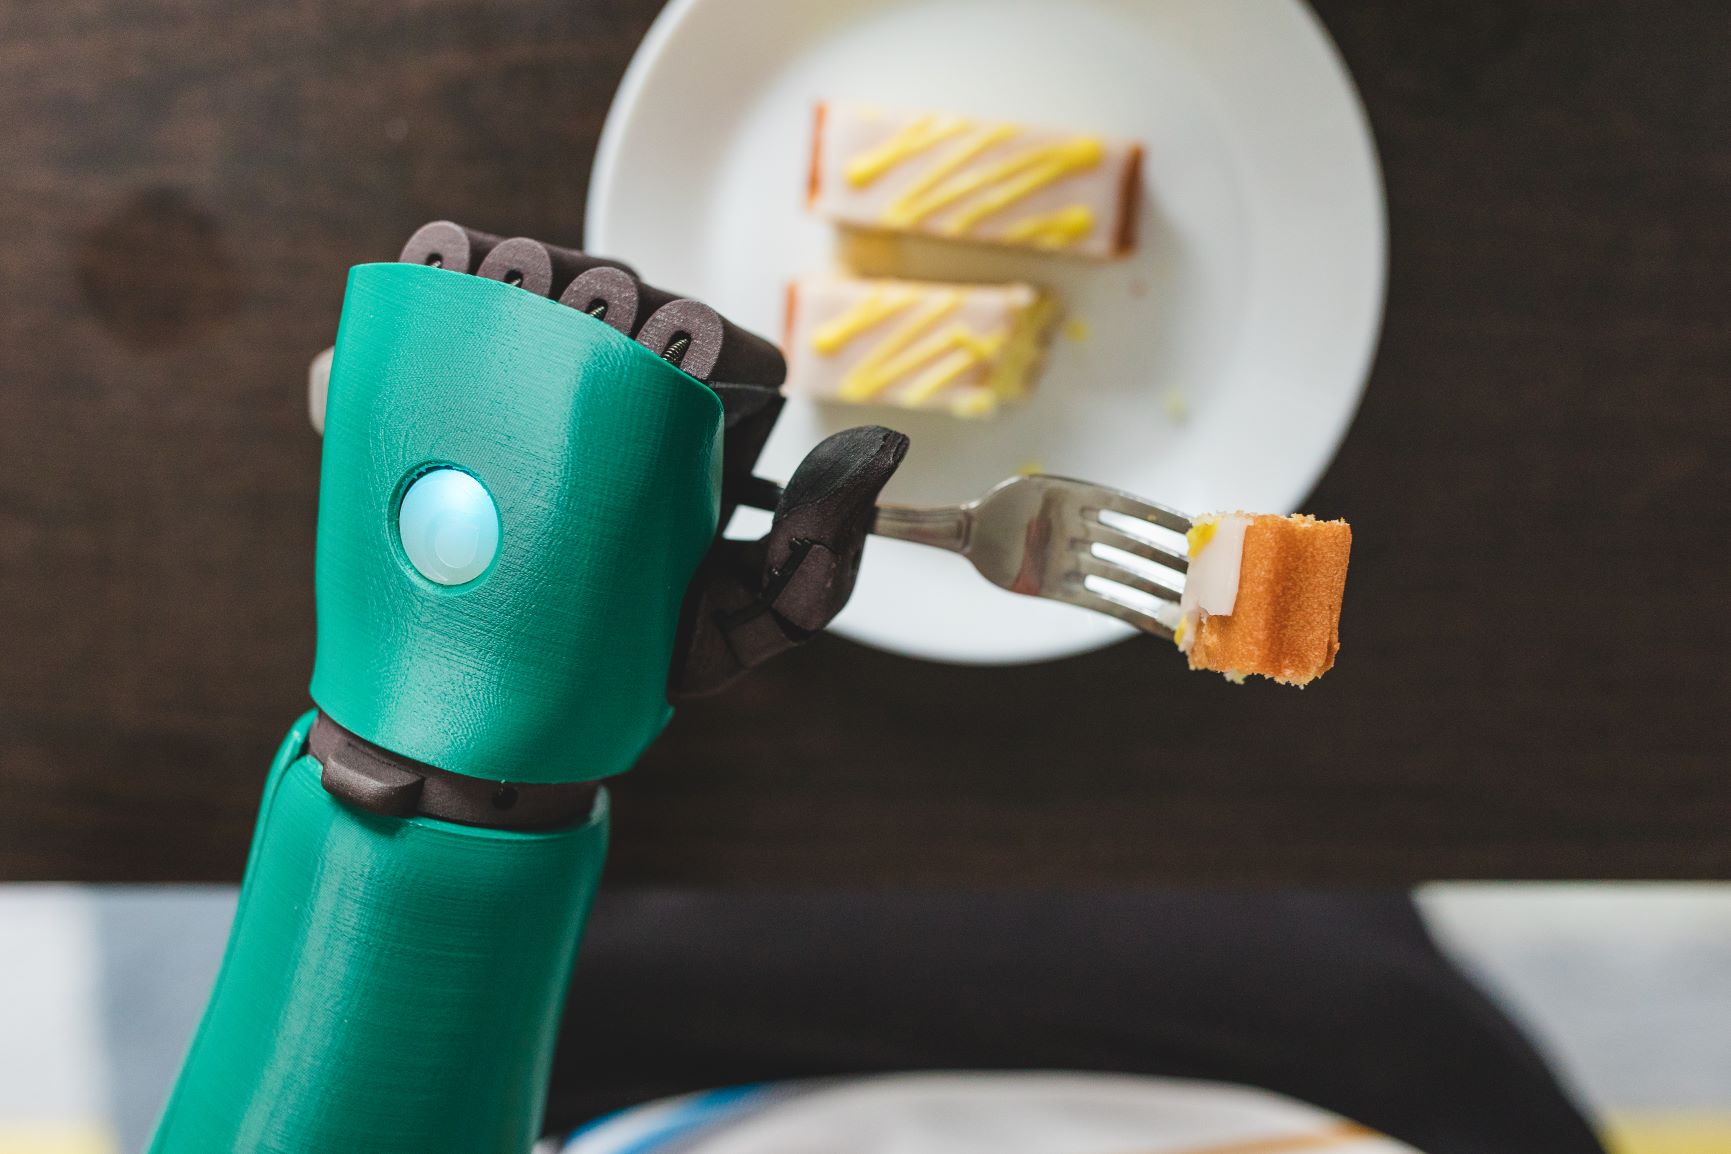
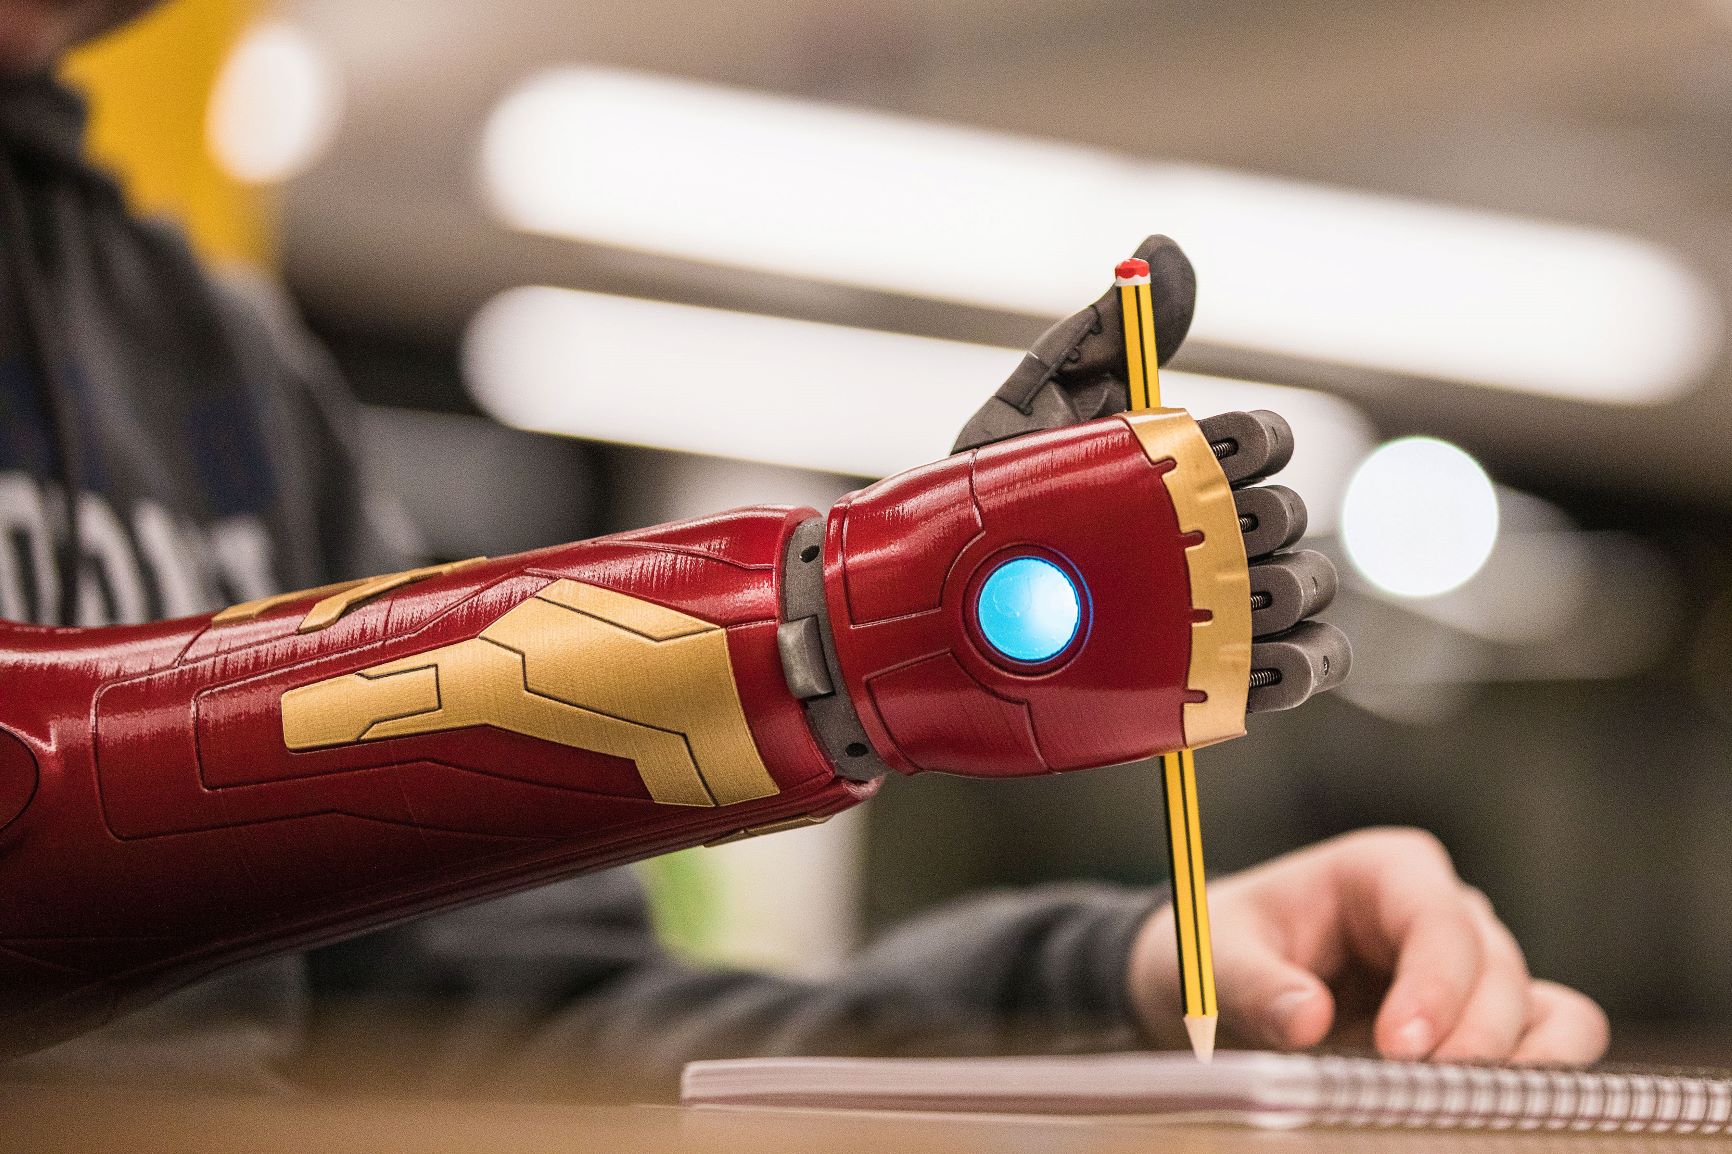
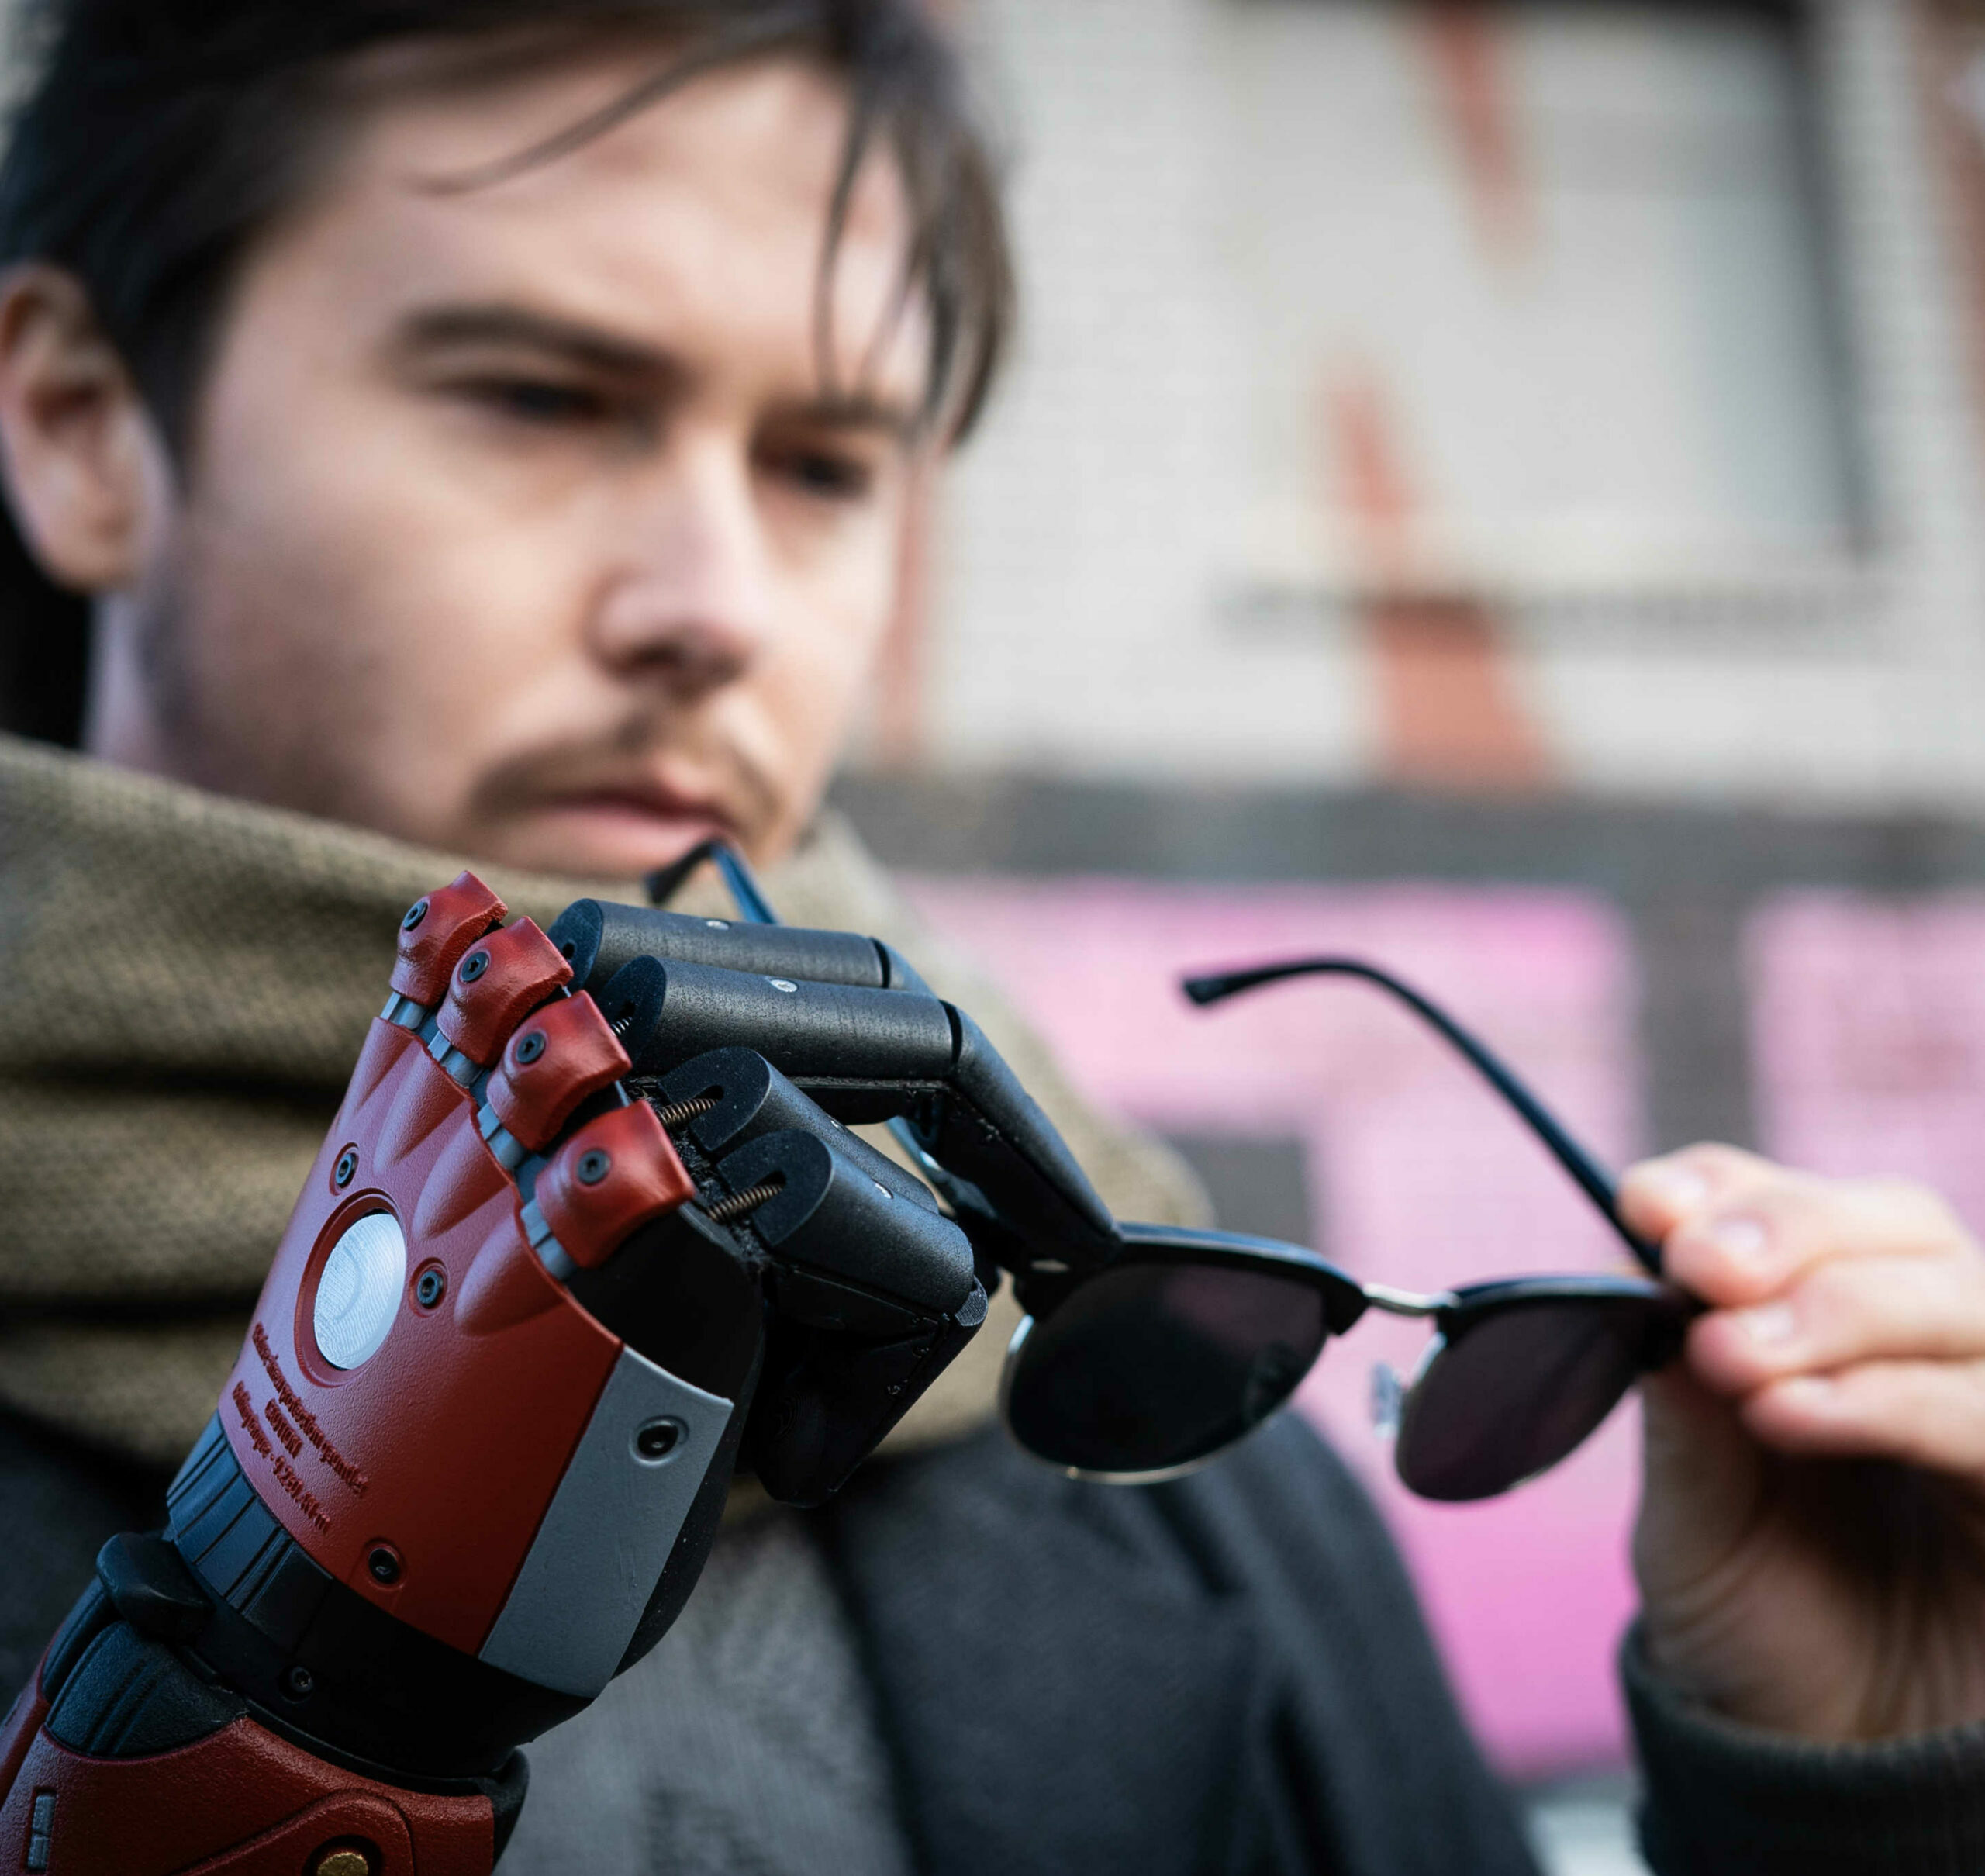
The Hero Arm is intended to be used for day to day activities that require the use of one or two hands. It is intended to be used for light to moderate activities such as:
Holding objects – cups, tools, kitchen utensils, trays, bottles, bags
Performing operations – opening doors, pressing buttons, getting dressed
The Hero Arm is not intended for use in activities that may result in injury or death to the user or others as a result of it failing to perform the activity as intended. As such, activities which are specifically prohibited include:
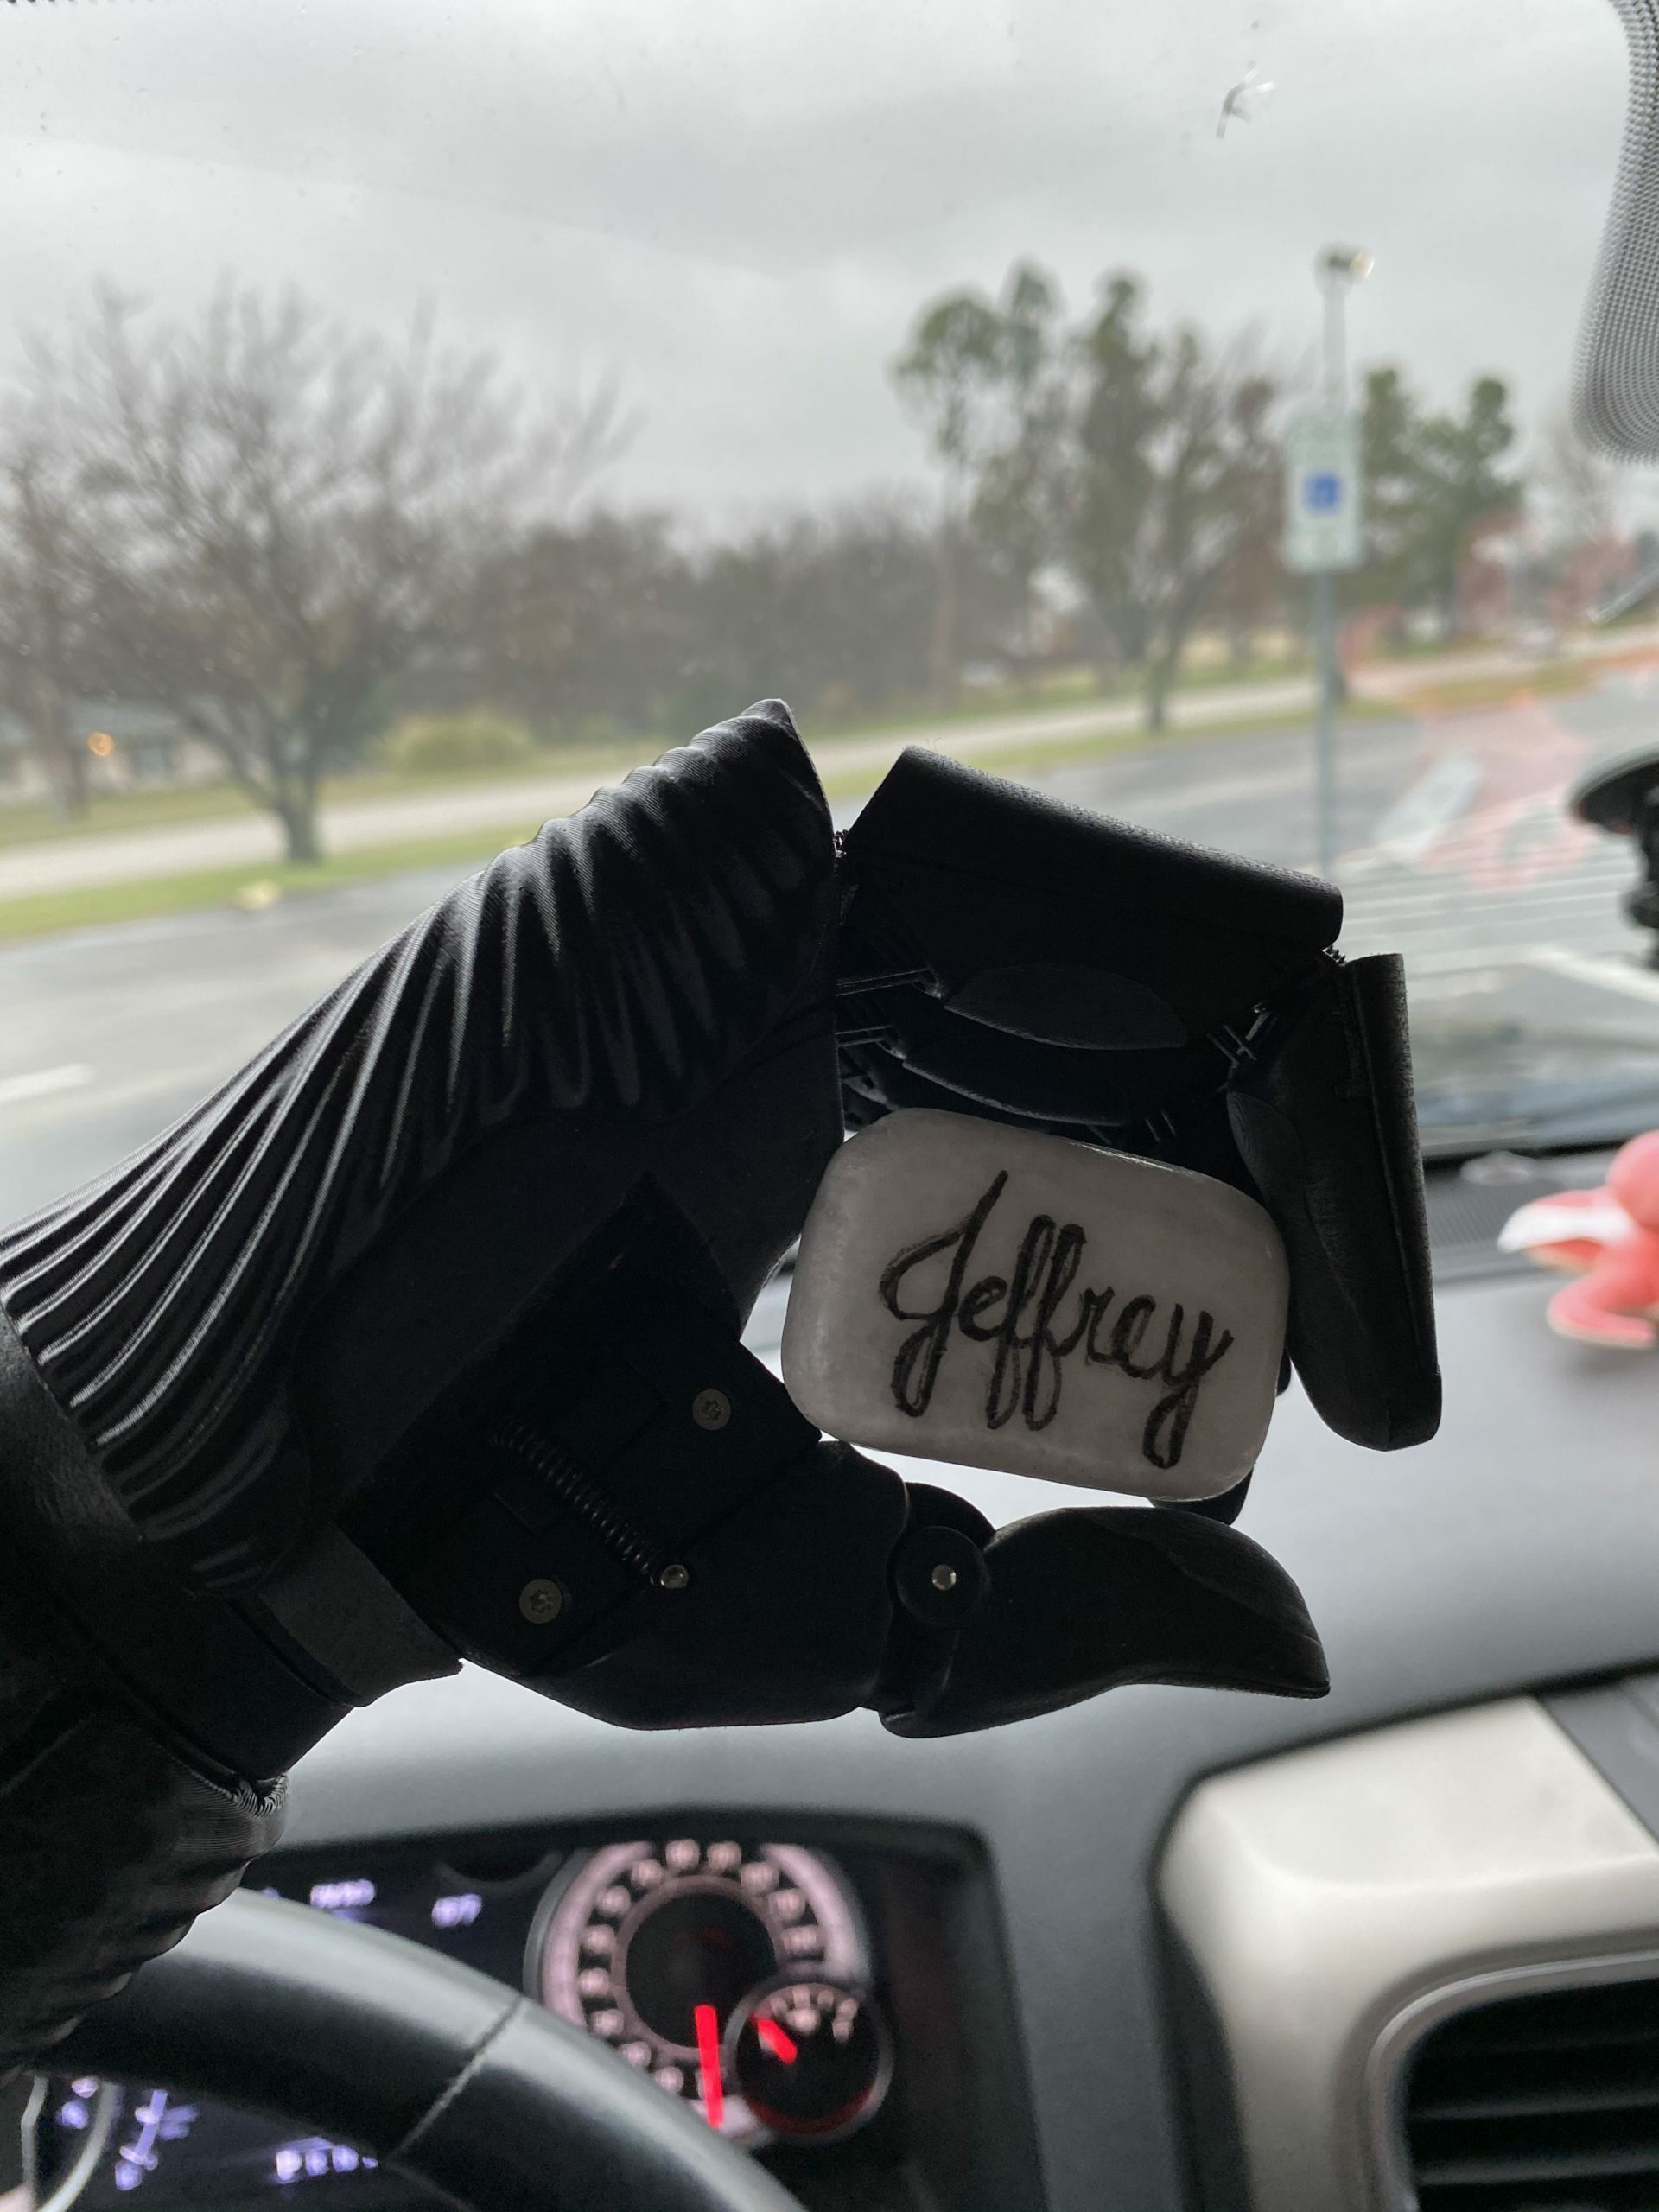
Driving any form of motor vehicle, aircraft or boat,
the use of firearms, or,
use while partaking in contact sports, watersports or extreme sports.

The Hero Arm suddenly ceasing to function (for example if it were to run out of battery). Bear in mind that this could leave the device unable to release.
The Hero Arm losing its grip
The Hero Arm moving unintentionally
The Hero Arm shifting position on, or coming off your arm
“
If the consequence of using the Hero Arm for any of the above activities is injury or death to yourself or anyone else, the Hero Arm must not be used. In the case of using the Hero Arm to return to work, you should discuss the above points with your Health and Safety representative and conduct a formal risk assessment.
”
You can use your Hero arm above -5 °C (23 °F) and below +50 °C (122 °F). You can use it at pressures equivalent to altitudes of up to 4000 m (16,400 ft, that’s 600 hPa to be exact), making it safe to use in the cabin of a commercial airliner. Your Hero arm is IP20 rated, meaning finger-sized objects and larger can’t get inside.

The Hero Arm is not waterproof. WaYou should avoid exposing it to any water. If your Hero Arm does get wet, turn it off, remove the battery and leave it to dry fully. It can be used in Relative Humidities (RH) between 15% and 90%.
Your Hero Arm has been designed to perfectly fit your arm, and comes with an adjustable BOA Fit SystemTM at the top of the arm to reach the perfect balance of comfort and secure fit. To tighten, push in BOA and rotate clockwise. To loosen, pull outwards. You can easily adjust the fit of your Hero Arm throughout the day without removing it, simply by adjusting the BOA Dial.
To switch on your Hero Arm, press the Hand Button for 1 second. The Hand Button will pulse purple while initialising. Once the arm is on and ready to use, the Hand Button pulses white.

Your Hero Arm comes with a battery and Smart Charger. The battery life of your arm will vary depending on how heavily you use it, but we recommend charging it every night. You must remove the battery from the arm before charging. For safety reasons, only ever charge your battery using the Smart Charger provided with your arm.
Checking battery status – Press the Hand Button for 1s, and its colour will change to indicate the battery level.
The multi-function button on the back of the hand can be used to control a variety of functions of your Hero Arm:
To switch on your Hero Arm, press the button for 1 second.
To switch off your Hero Arm, press the button for 3 seconds.
Your Hero Arm has multiple grip groups; to change between these, press the Hand Button for 0.5s. See ‘Grip Modes’ in the full manual for more information on each grip.
The Hero Arm will notify you of a variety of status changes through the Hand Button colour, vibration, and beeper. Below we have summarised the most common notifications, but for the full list see full user manual
Purple (pulsing) – Initialising / Calibrating
White (pulsing) – Normal function
Green (flash) – Grip change (number of flashes indicates grip number)
Purple (flash) – Grip group change
Blue (pulsing) – Freeze mode
The Hero Arm comes with EMG Sensors in the arm which detect your muscle movements, and the hand responds with intuitive control. When being fitted for your Hero Arm, your prosthetist will have found the optimal location of the EMG Sensors for your muscles. As standard, the Hero Arm uses two EMG muscle sensors to control the hand. However, if you only have one suitable muscle site on your residual limb, your Hero Arm may only use a single EMG sensor. If this is the case, see full manual for more user information.
The bionic hand is controlled by tensing the same muscles which are used to open and close a biological hand. To close the Hero Arm’s hand, and perform the selected grip, imagine flexing the wrist inwards while pulling the fingers into the heel of the hand.
To open the hand, imagine extending the wrist with an outstretched palm (see full manual for diagram).
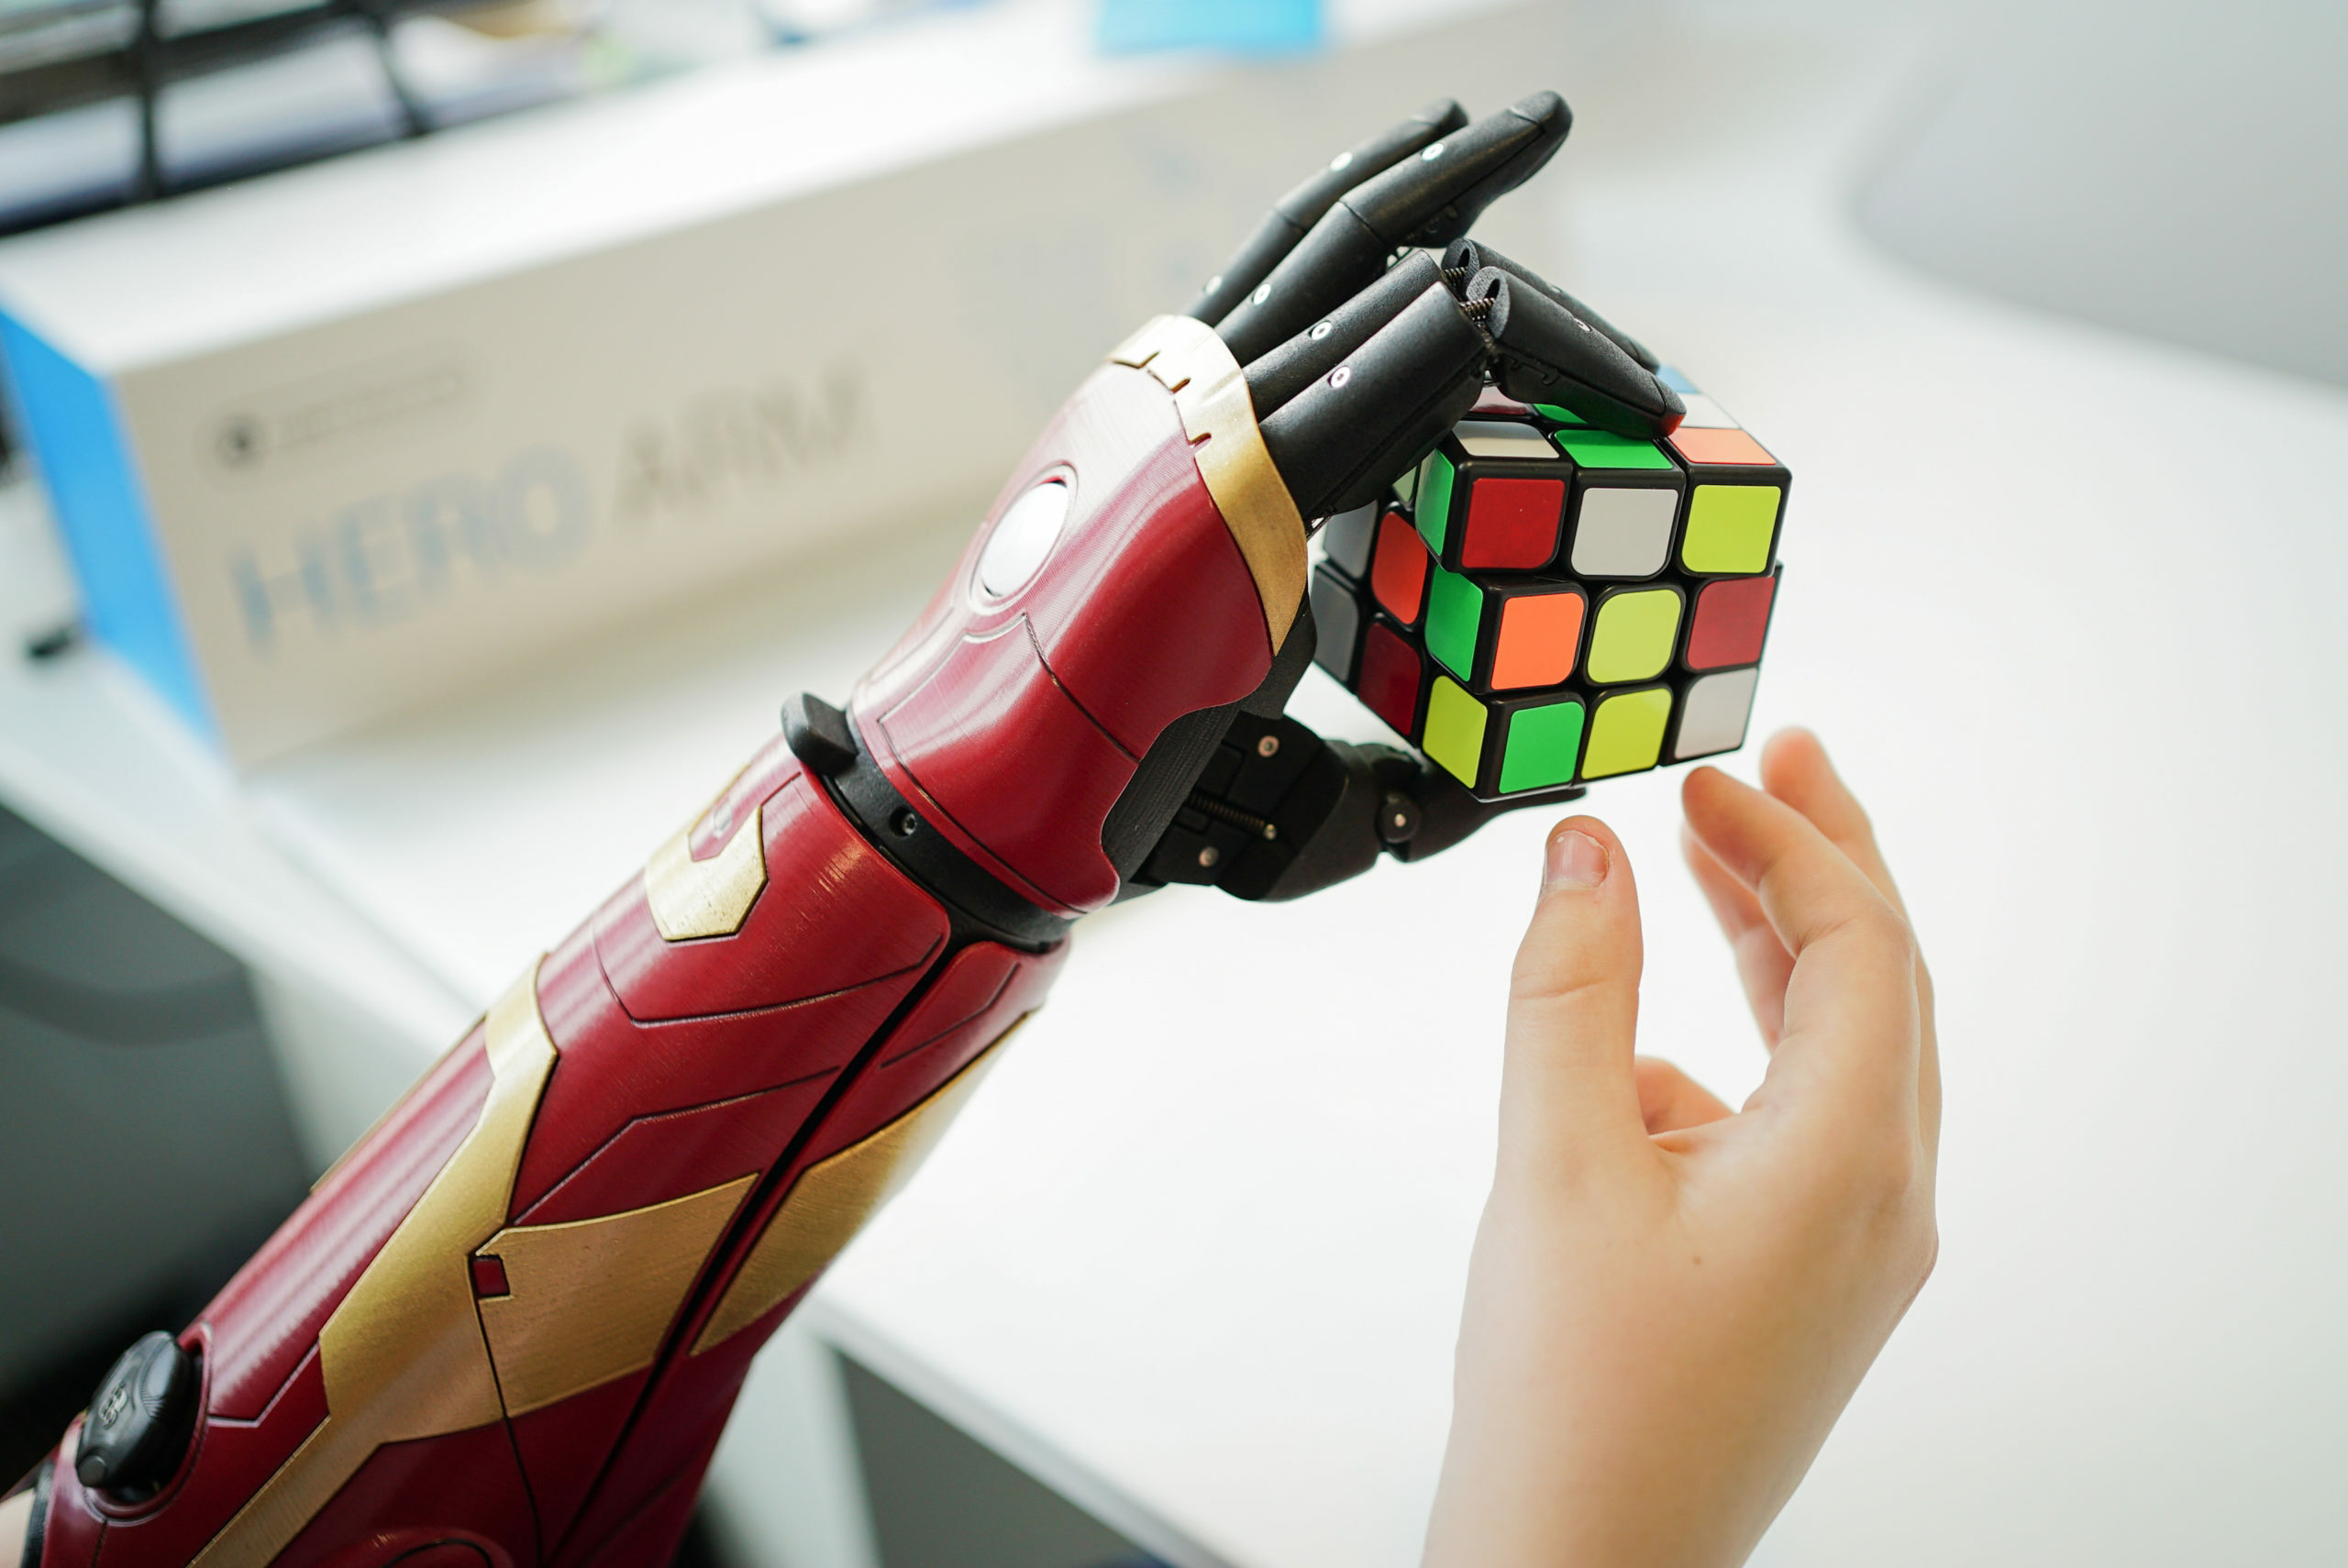
The hand will move more slowly when your muscles are tensed gently, and will move more quickly with a firmer tense. This control can be useful for manipulating small or delicate objects.

The Hero Hand has 4 different grip patterns in the 3 motor version, and 6 different grips in the 4 motor version. These grips are grouped together in pairs to make switching between them quick and easy.
To switch between grips within a group, move the hand into the open position, relax, then hold an open signal for more than a second. You will feel a long vibration, and the Hand Button will flash green a number of times to indicate which grip number you have selected; 1 flash for the 1st grip in the group, and 2 flashes for the 2nd grip in the group.
To switch between the different groups, press and release the Hand Button.
You will feel a short vibration, and the Hand Button will flash purple a number of times to indicate which group number you have selected – i.e. 1 flash for group 1, 2 flashes for group 2.
You can adjust the rotation of the wrist through 180°. To do this, depress the Wrist Button at the base of the wrist (on the back of the hand), and rotate to the desired angle. Release the button to lock the wrist in the new position. The wrist can be locked at any angle within the range of the rotation.
In addition to the powered movement of the thumb, the knuckle can also be manually adjusted into either the open, middle or closed position. Fully closing the thumb makes it easier to pull the Hero Arm through the sleeves of clothing. The middle thumb position can be useful for picking up small objects
When you power on your Hero Arm for the very first time, the hand may perform a calibration routine – this will involve closing each of the fingers and the thumb in order to check everything is working correctly. It is important that the fingers are not obstructed during calibration, as this could cause the calibration to fail. The Hand Button will pulse purple to indicate the hand is calibrating. A successful calibration is indicated by the Hand Button turning white once the movement of the hand has stopped.
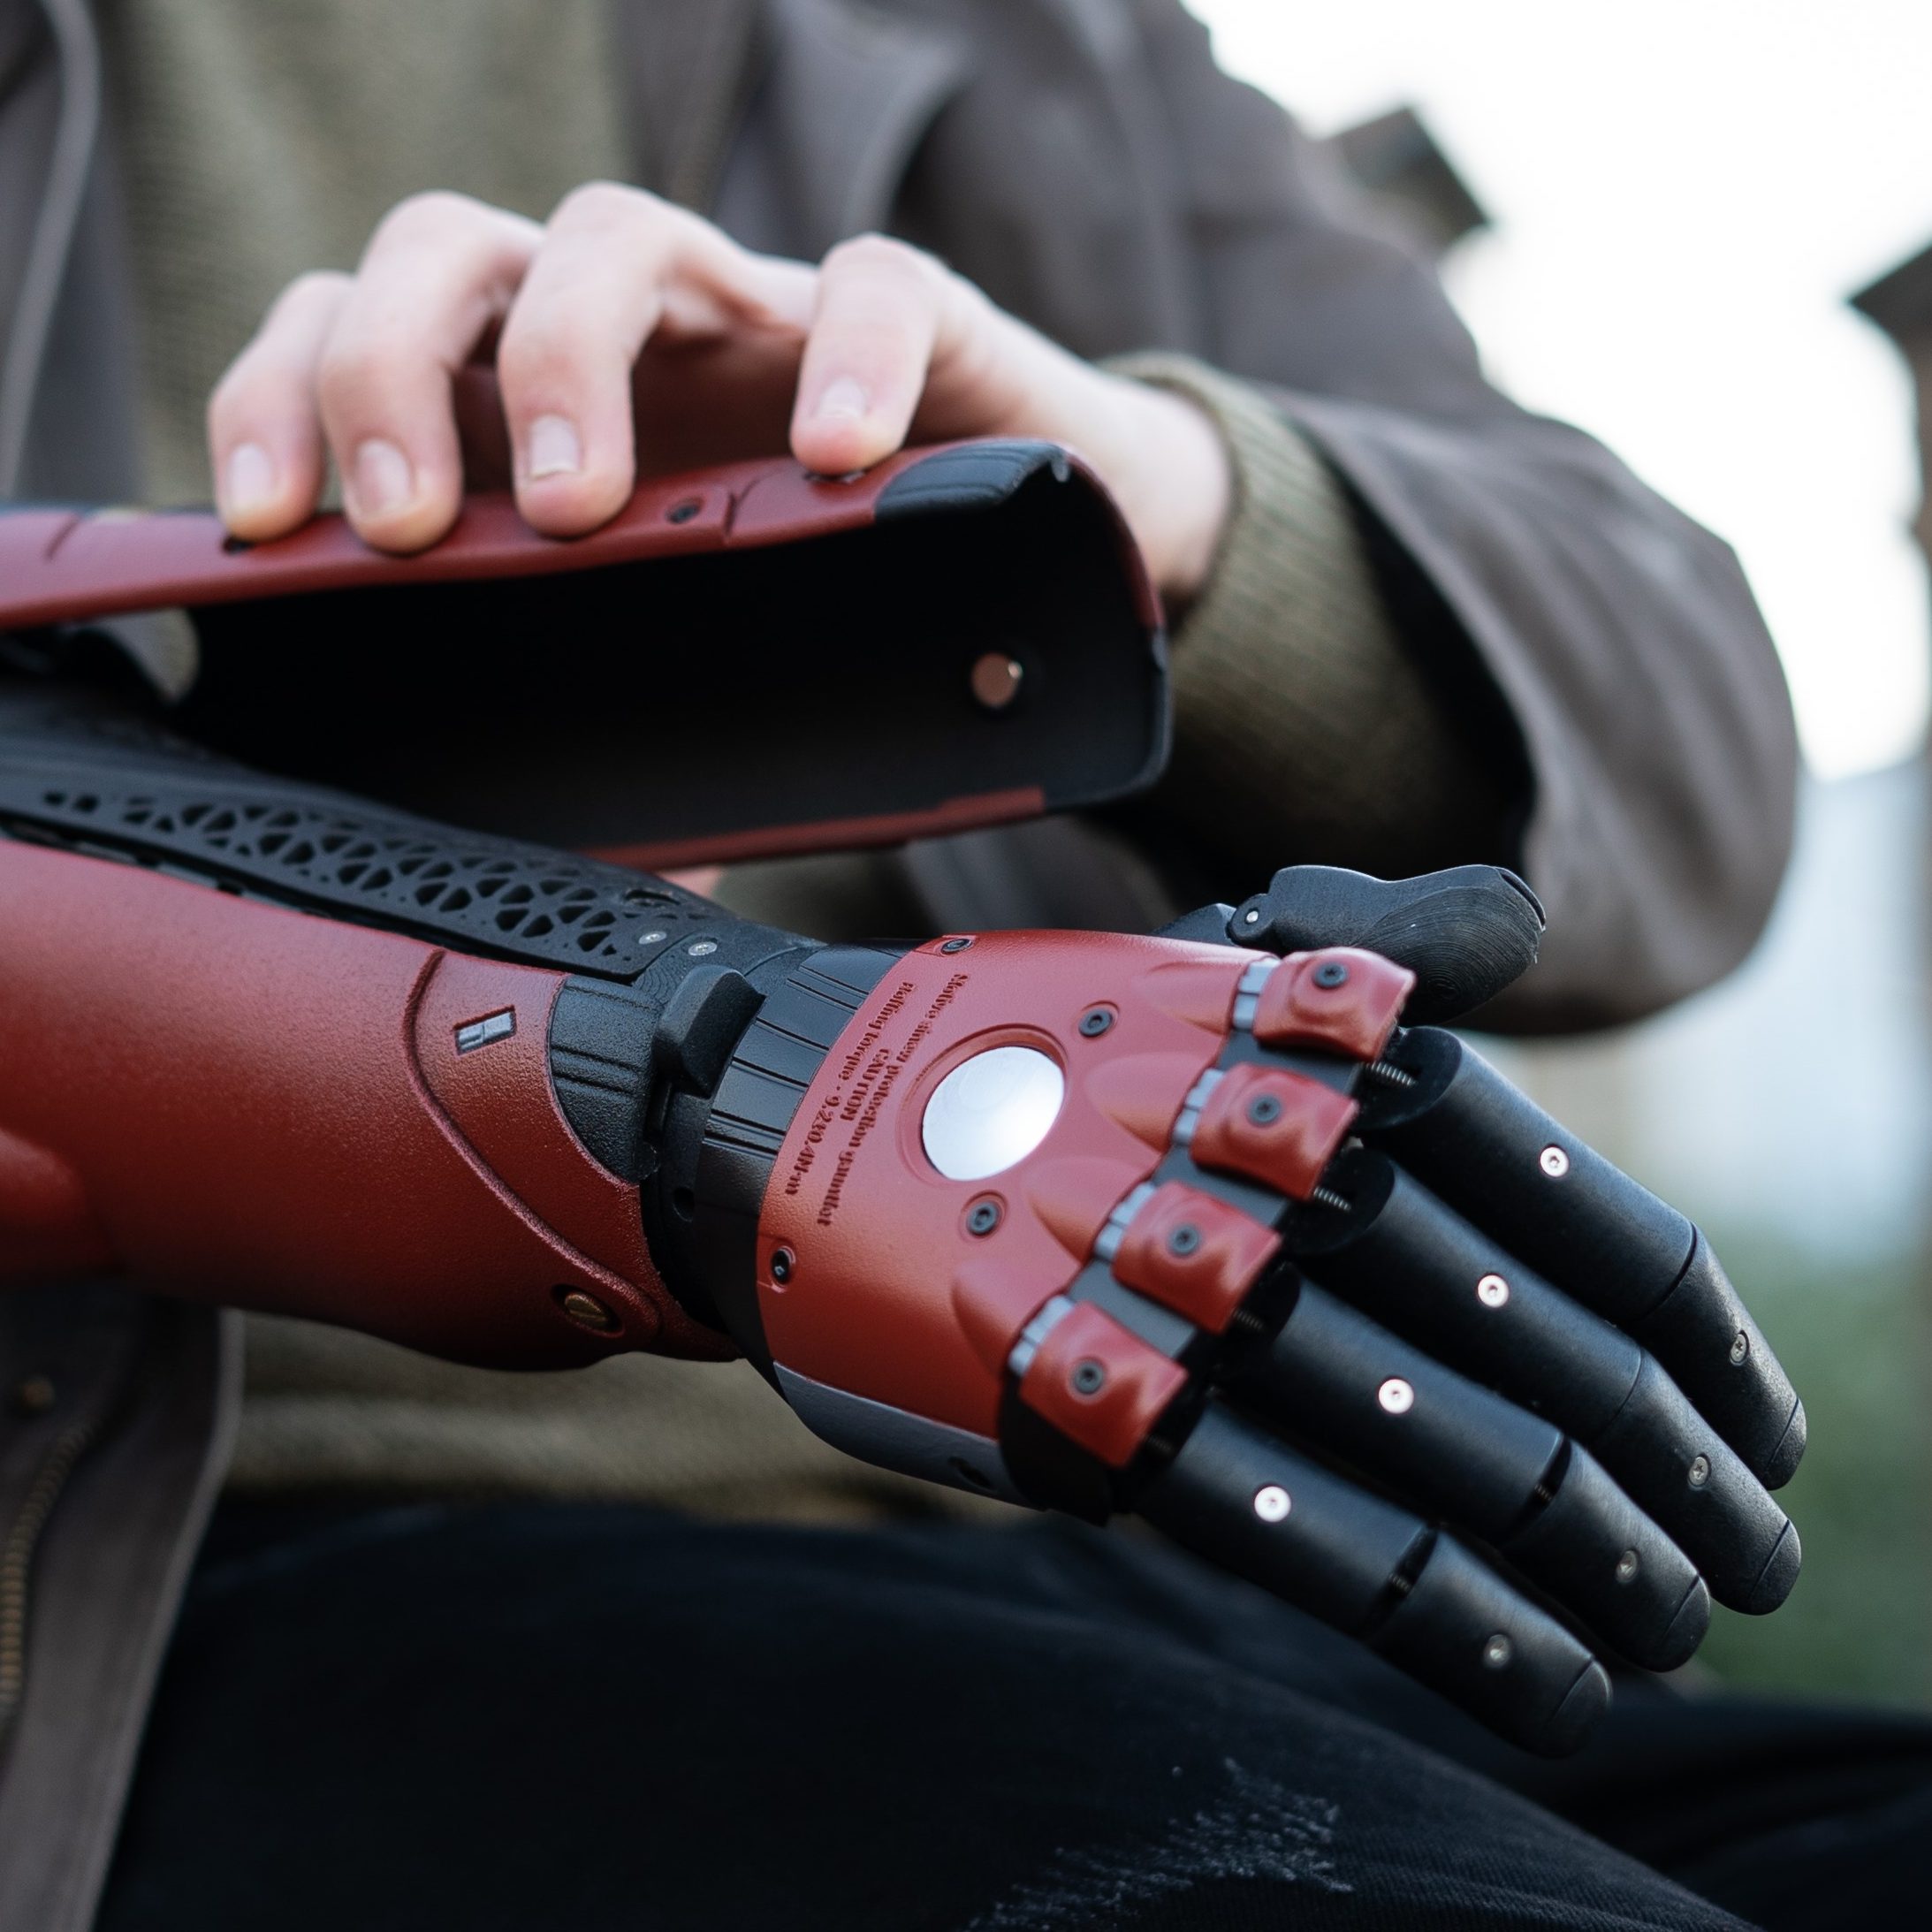
Your Hero Arm can be customised with swappable covers, to match your style or mood. There are 3 types of cover: hand cover; arm covers (split into two halves) and battery cover. Each cover is custom designed to fit your Hero Arm perfectly.
The Hero hand has 4 slots which engage the 4 clips on the hand cover.
Although the Hero Arm has been engineered to be strong and robust, you should treat it as if it were your own limb. Avoid subjecting your arm to excessive loads or impacts – your safety should not rely on the arm at any time. You must always have at least the battery cover on your arm in use. You should not attempt to lift or carry objects heavier than 8kg.

The Hero Arm can be stored between -25°C and +70°C with the battery removed. The covers have a more limited temperature range and should be kept between -5°C and 30°C, out of direct sunlight.
Do not attempt any maintenance or modification of your Hero Arm by yourself. If you think your arm is not functioning as it should, or has been damaged, you can contact your prosthetist to arrange for repair or replacement.
The Hero Arm can be cleaned using alcohol-free antibacterial wipes. In addition, the flexible internal socket is easily removable from the frame of your Hero Arm to make cleaning easy. Once removed, you should clean the flexible socket using warm, soapy water on a regular basis. Make sure your Hero Arm does not touch any water when cleaning socket.
The socket should be thoroughly dried before putting back into Hero Arm.


